Are you starting to think about raising the bar for what’s possible in your backyard? You’re not alone! Many Canadian homeowners are beginning to shift their thinking about backyards away from simple storage or overflow space.
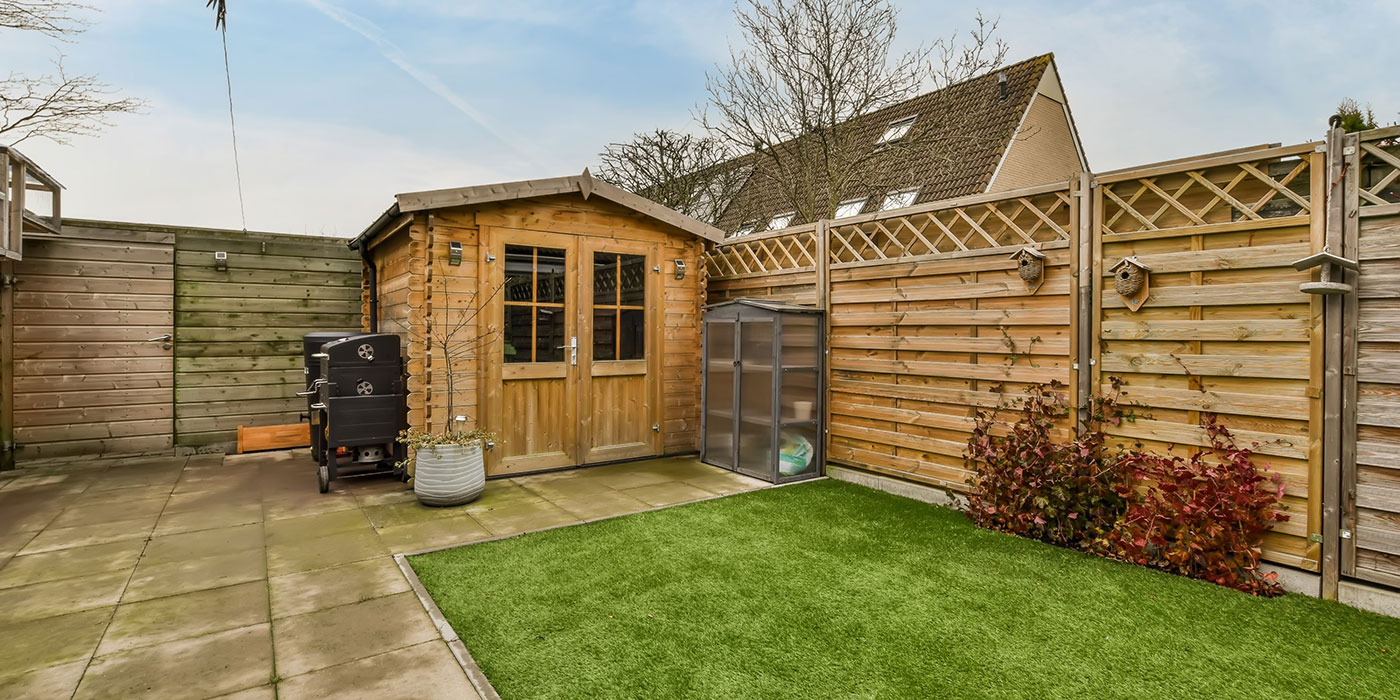
Flimsy, weather-worn sheds are being replaced with backyard structures that feel like a true extension of the home: built with intention, finished with care and designed to last. From bunkies and tiny homes to free-standing garages and studios, the focus has shifted toward spaces that don’t just function, but elevate the entire property.
Here’s how to bring that level of quality and craftsmanship into your backyard.
1. An Extension of Your Home
A shed shouldn’t feel like an afterthought; it should feel like it belongs! That process can often start with exterior finishes.
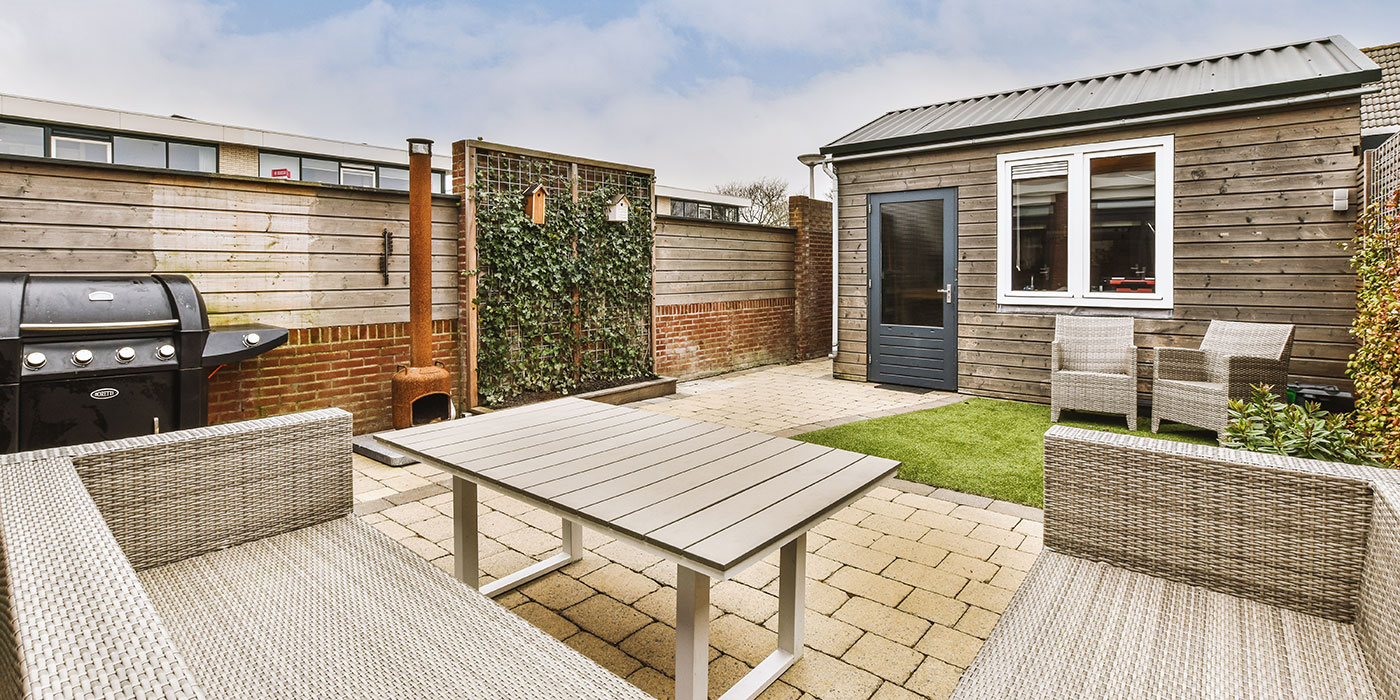
Upgrading to James Hardie Fiber Cement Siding instantly elevates the look of any backyard structure, whether it’s a bunkie, studio or free-standing garage. With its refined finishes and wide range of colour options, it lets you match or complement your home’s exterior for a cohesive, high-end feel.
Beyond its aesthetic, you can rest assured that it’s built for performance. James Hardie siding is engineered to withstand harsh weather and is fully non-combustible, meaning it won’t contribute fuel to a fire, adding an extra layer of peace of mind.
The result is a structure that looks intentional and performs under pressure!
Timber Tip
Identify 2-3 key visual elements from your home, such as the siding colour, trim tone of window style, and echo them on your backyard structure! You can match tones exactly for a seamless look, or choose complementary shades that sit within the same colour family for subtle contrast.
Carry those choices through the details, like fascia boards, corner trim or door accents, so the structure feels consistent from every angle.
2. Add Custom Details
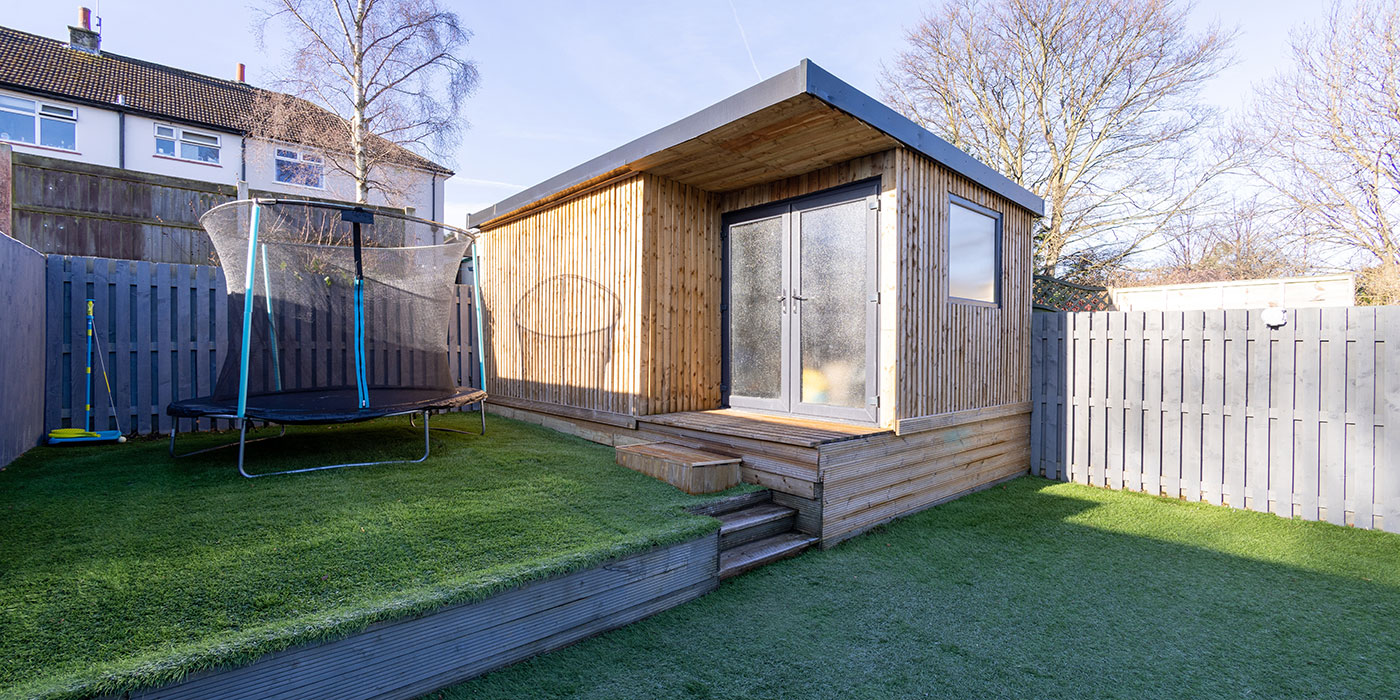
It’s the small, custom details that separate a basic shed from a high-end backyard structure. Custom-built doors, shelving and trim work add personality and function while reinforcing the quality of the build.
Using tools like Makita 18V LXT 6-1/2″ Circular Saw allows for precise cuts when crafting these elements, making it easier to achieve clean lines and professional results. Pair that with specialized fasteners like PWR DRIVE EVO Dual Action Premium Construction Screws for assemblies, the PWR DRIVE STR for structures or the PWR DRIVE FIT for all trims and moldings ensure everything is securely built and designed to last. Strong connections are what keep custom elements looking and performing their best over time.
These finishing touches help transform a structure from purely functional into something that feels designed, deliberate and built to the same standard as the main home.
Timber Tip
Break up large, flat walls by adding simple, intentional details, such as vertical or horizontal trim bands, recessed accent panels, or framed sections around doors and windows.
Even small touches, like a contrasting trim colour, a built-out surround of open shelving mounted to the interior or exterior wall, can create depth and shadow lines that make the structure feel more architectural and finished rather than plain.
3. Restore Instead of Replace
Not everything in your backyard needs to be new or feel refreshed. Solid wood walls, fences or outdoor furniture, like Muskoka chairs and dining sets, can often be restored to look and perform like new!
The key is starting with proper surface prep. The Makita 5″ Orbit Sander makes it easy to strip away years of weathering, smoothing out rough surfaces and removing flaking or faded finishes without damaging the wood beneath. From there, using a system like Olympic Maximum Wood Stain, paired with proper cleaning, helps protect the wood while enhancing its natural grain and character.
The result is a refreshed piece that feels both familiar and elevated. This approach not only reduces waste but also preserves quality craftsmanship that’s often hard to find in newer pieces.
Timber Tip
When restoring your upcycled shed, fence or solid wood furniture, use a consistent grit progression. You could start around 80-100 grit, then move to 120-150 grit, while remembering to always sand with the grain to avoid swirl marks!
Spend extra time on armrests, seat edges, creases, fine details or joints. These are key areas where the old finish tends to build up or wear unevenly; lightly feather those spots so the stain absorbs evenly across the entire piece.
4. Prep to Protect
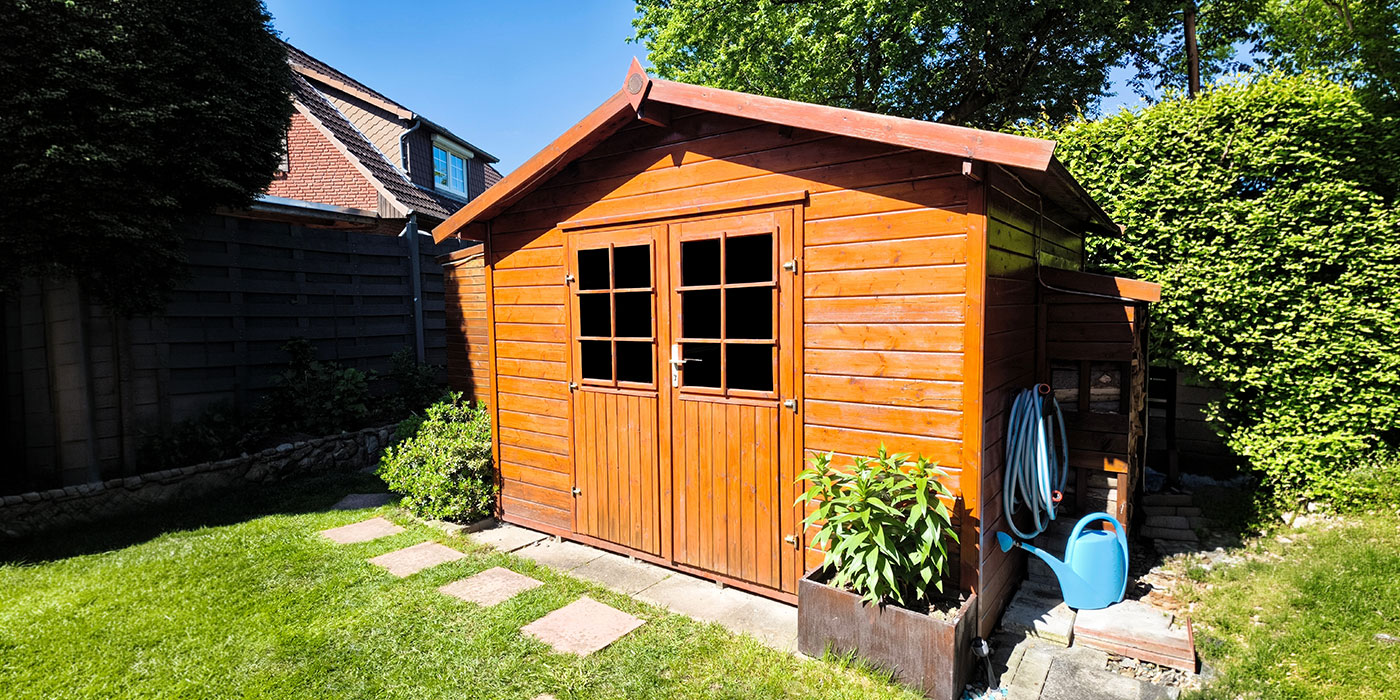
A high-end finish is only as good as the preparation underneath it. Before applying any stain or finish, it’s critical to properly clean and prep the surface.
The Olympic Maximum Wood Prep helps remove dirt, mildew and old residue, allowing stain to absorb evenly into the wood grain rather than sitting on top. Following up with a protective finish like Olympic Maximum Wood Stain creates a barrier against moisture and UV damage – two of the biggest threats to outdoor wood surfaces.
This “prep to protect” approach ensures that your furniture, deck, structure, or upcycled furniture doesn’t just look good after a refresh; it stays that way throughout changing seasons and years of use.
Timber Tip
Always follow the manufacturer’s guidelines for the dry time between cleaning and staining. Applying finish to damp wood can trap moisture, reducing adhesion and leading to early wear and uneven colour.
Upgrading your backyard comes down to smarter choices, focusing on quality materials, thoughtful design and proper prep to create spaces that look intentional and built to last. Let your local TIMBER MART team help with those high-end finishes and outdoor updates this season!