Sealing gaps around your doors and windows with caulk is a simple but crucial task that, when maintained regularly, helps keep your home comfortable and structurally sound.
Regular maintenance on windows and doors includes maintaining the caulked seal around the perimeter. This seal prevents water damage that can weaken the structure and stops drafts and pests from entering your home.
To begin, prepare the surface by removing the old caulk with a putty knife or scraper, then wipe the framing with a damp cloth to remove dirt, debris and loose bits of old caulk. If you have any rot or surface damage, make those repairs before you start caulking. Use an exterior silicone-based caulk that is durable, flexible, weather-resistant and in a colour that matches your framing. Load the caulk into the caulking gun, then cut the nozzle with a utility knife at a 45-degree angle to roughly match the size of the gap you’re filling. If you are unsure what size that is, cut a small hole in the nozzle and increase if necessary. Apply the caulk starting in a corner. If the bead is too small, cut a bigger hole in the nozzle tip.
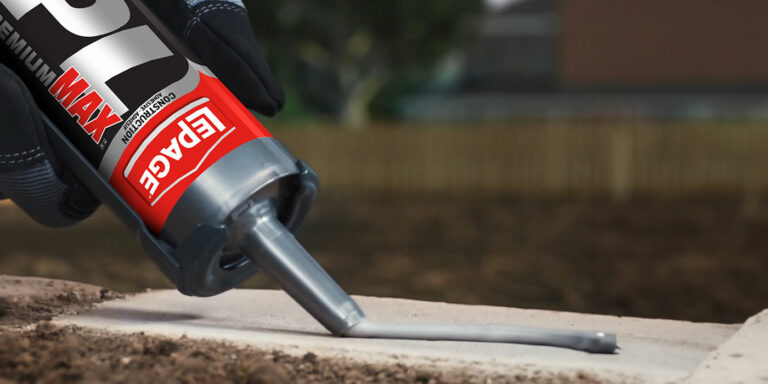
Once you have the right size bead, keep constant pressure on the caulk gun and move it along the joint at a consistent speed and angle. Be careful not to use too much caulk or you will have a messy result. There is a learning curve to maintaining consistency when caulking so you might want to do a few practice tries on a piece of cardboard. When you get to a corner, slightly overlap the caulk to create a seamless seal.
Once you have finished a line of caulking, use a wet finger or a smoothing tool and gently smooth out the bead. Remove any excess caulk immediately. Continue caulking around the entire perimeter of the window or door. When done, allow the caulk to fully cure according to the manufacturer’s instructions.
Tip: Applying painter’s tape on both sides of the bead will ensure a straight, clean line. Remove the tape immediately after smoothing the bead.
With the right tools and quality materials, you can keep exterior seals tight and your home comfortable all year long. Visit your local TIMBER MART for expert advice and everything you need to get the job done right.


