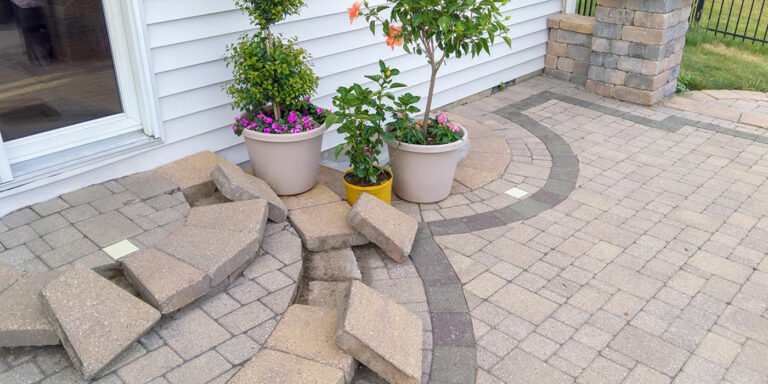
We’re almost through another winter, so it’s only fair that we give a round of applause for the true workhorses of Canadian homes: entryways and mudrooms! They face snow, salt, direct and heavy traffic every day – but they don’t need to face an uninspired flooring fate!
With geometric tile patterns like herringbone or chevron, you can go beyond the classic square tile to create something durable and visually striking. Read on to learn how you can make a lasting first impression through the power of pattern.
First Things First
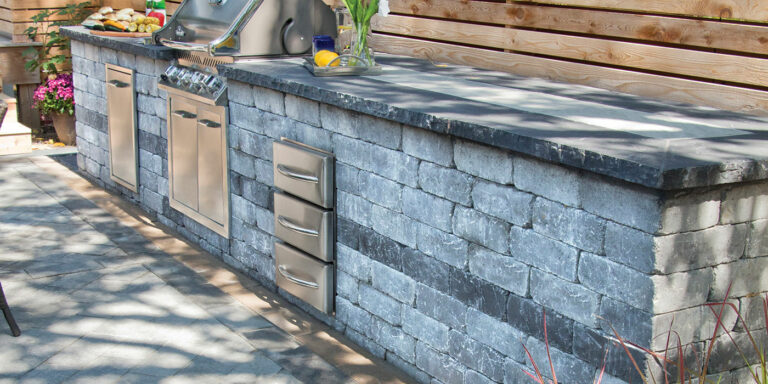
When it comes to experimenting with patterns, we believe that mixing materials can make a strong statement. Move beyond the rigid transition strip and take your design to the next level! We recommend a warm, wood-look plank that seamlessly transitions into a patterned tile zone, combining functionality with personality.
Cut With Precision
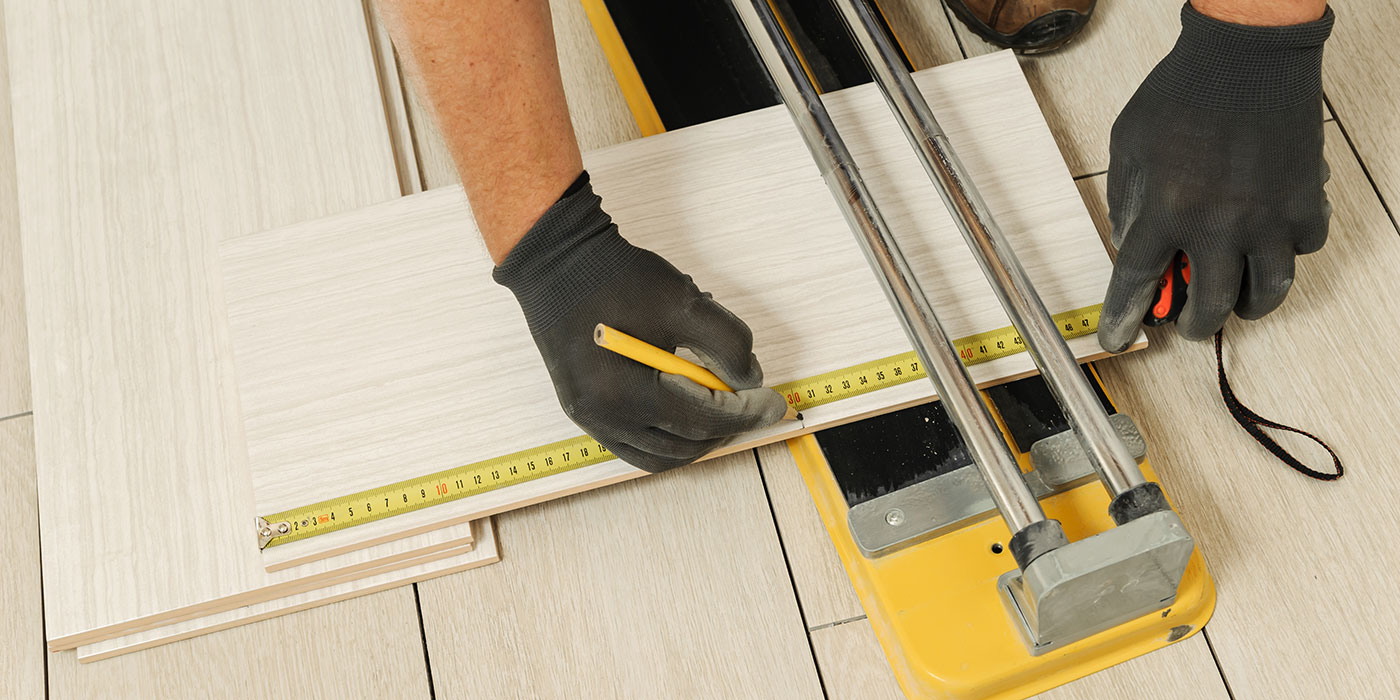
Now that you’ve decided on a geometric pattern, it’s time to get down to brass tacks. These patterns demand accuracy, since uneven or angled cuts can throw off an entire design. A Makita 5″ Masonry Saw with Dust Collector can make even the trickiest cuts easy and clean! The wide blade case enables use of curved diamond wheel and the sliding functionality ensures precision for repetitive angled cuts. Plus, the dust collector effectively controls airborne debris, making it ideal for indoor projects.
Timber Tip
As the old adage goes, measure twice, cut once! Use scrap tiles to test angles before touching your main pieces. This tip saves materials and keeps your pattern perfectly aligned.
Plan Your Pattern and Set Tiles Flawlessly
You’ll want to plan your pattern layout before mixing your mortar. Laying out your tiles dry allows you to visualize the design, adjust for symmetry and avoid awkward cuts at walls or corners.
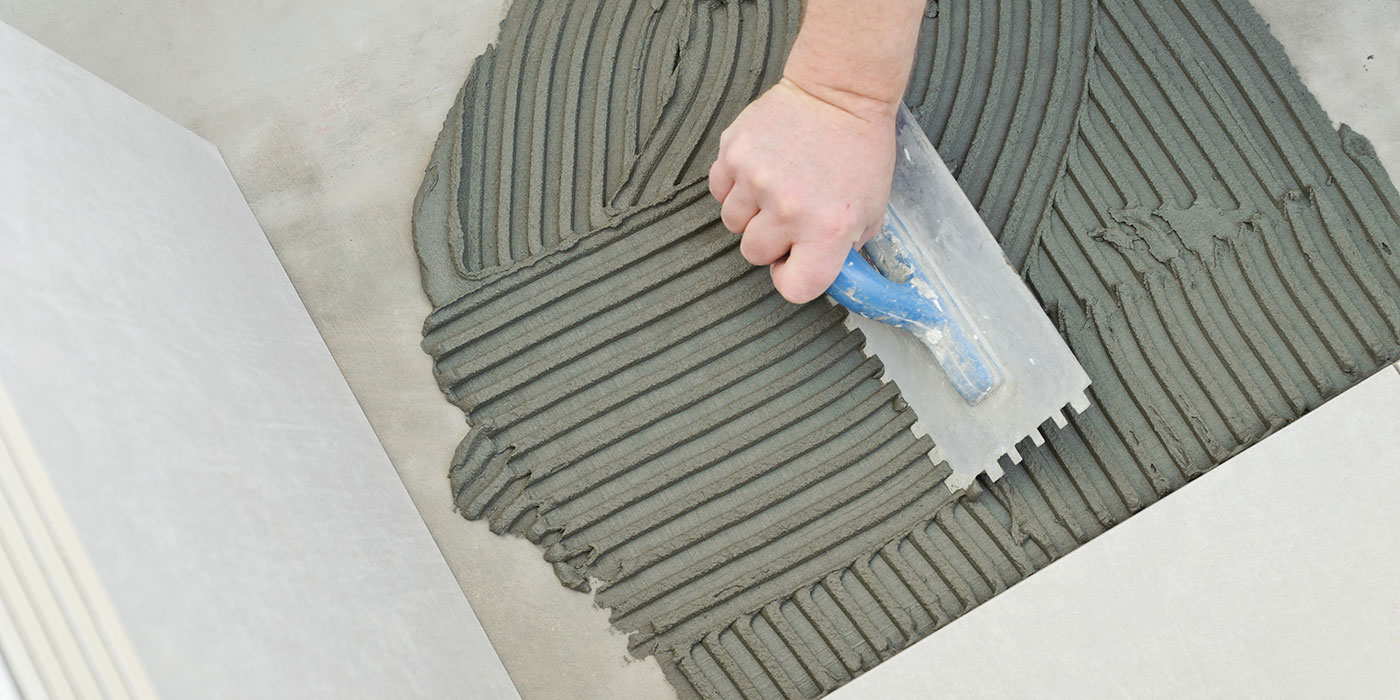
The right adhesive technique is critical for durability. Using TASK Tiling Accessories, like correctly sized notched trowels, spacers and grout floats, ensures full mortar coverage, preventing tiles from shifting or cracking over time.
Timber Tip
The size of your notched trowel is crucial, as it determines the amount of mortar applied under each tile.
If it’s too small, your coverage may be incomplete, leaving air pockets that lead to tiles cracking or loosening over time. If it’s too large, excess mortar can squeeze out between tiles, creating uneven or messy grout lines. Paying attention to the small details here makes a huge difference in both longevity and appearance!
Protect Yourself While You Work
Tiling is hard work! Wet, slippery tiles, grit and mortar can make hands sore or slick, which can slow you down. Makita FitKnit™ Cut Level 1 Nitrile Coated Dipped Gloves give you grip, control and protection throughout the prep, cutting and grouting steps.
Timber Tip
Keep a damp cloth or a sponge nearby while wearing your gloves. This way, you can wipe off excess mortar as you go, preventing buildup on the tiles. A great tip to keep your tiles clean and help maintain precision during placement!
A geometric tile pattern can transform high-traffic areas from bland to bold. Combined with mixed materials for smooth transitions, you get a functional, water-resistant floor that’s as stylish as it is practical.
Ready to bring pattern and personality to your entryway or mudroom? Visit your nearest TIMBER MART and speak with one of our flooring experts. We carry the latest tile styles, precision tools and accessories and have the knowledge to help you plan and install the tile pattern of your dreams.