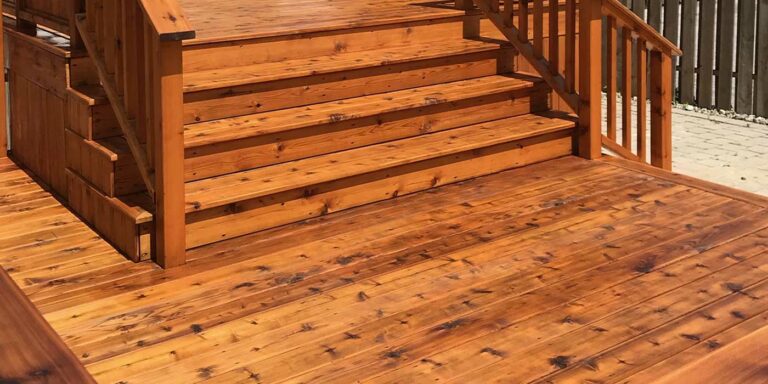
The duality of a backyard deck goes beyond the boards. Even if your deck looks flawless on the surface, it’s what’s underneath that counts. Loose boards are always more noticeable than the deck’s underlying structure, so they are often the first fix, but regularly inspecting the frame, joists, and footings can ensure your deck truly lasts.
Before choosing stain colours, furniture upgrades, or stringing up lights, give your deck some TLC with a structural check-up. Here’s some info about why even the best decks can fail, and a step-by-step on how to make yours safer.
Why Old Decks Fail (Even the “Solid” Ones)
Many older decks were constructed using nails, but modern building practices recommend structural screws instead. Over time, nails can loosen as the wood expands and contracts. Additional factors like snow load and freeze-thaw cycles can widen gaps and put extra stress on connections. Eventually, nails begin to pull out of connectors, joists can shift, and railings may become less sturdy. This is when decks start to feel “bouncy,” railings wobble, and boards pop up, posing a risk for bare feet. Upgrading your fasteners isn’t just regular maintenance; it’s important for keeping your deck safe and sturdy.
Step 1: Check the Ledger Board
The ledger board is an 8”x2” (minimum) wood board that attaches the deck to your house, and does the heaviest lifting for structural integrity. Look for gaps, signs of rot, rusted fasteners or water staining along the board. If moisture can get in here, it will… and over time, this can lead to your deck becoming a safety risk, especially if it’s a second-story deck.
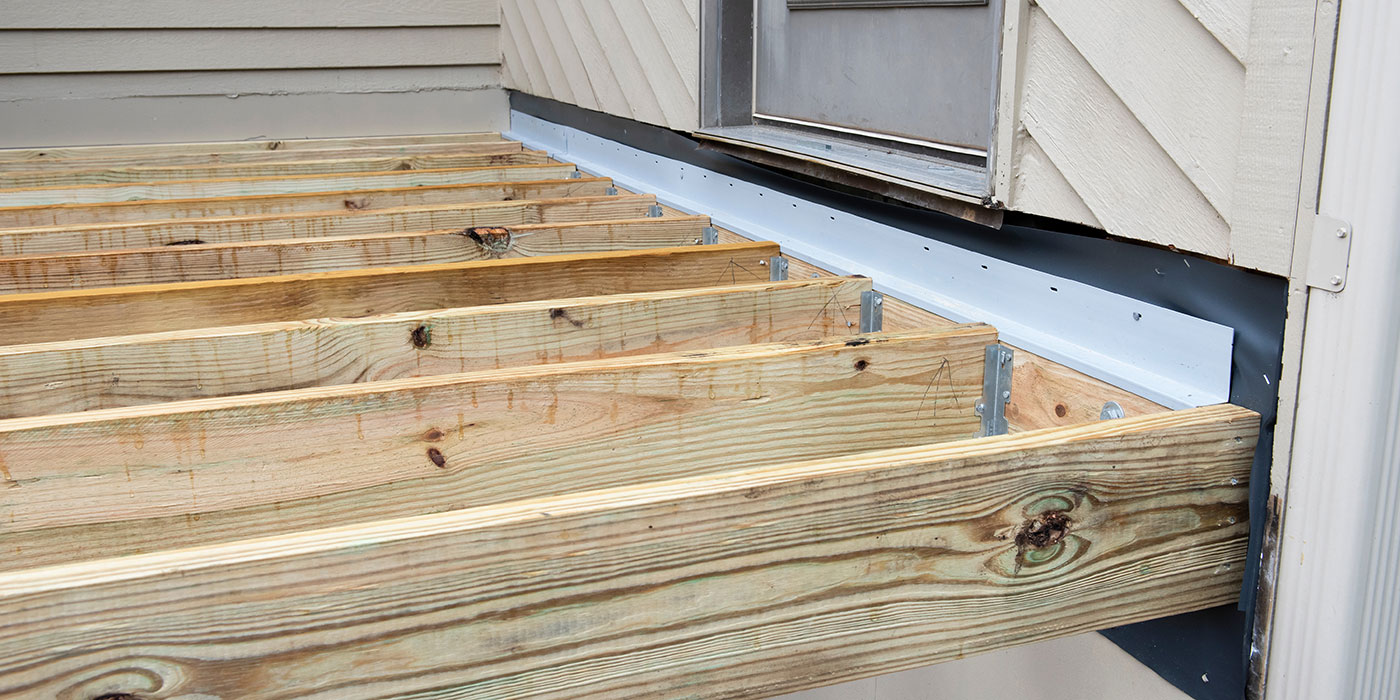
Timber Tip
Seal the space between the ledger board or flashing and the concrete or brick of your home using LePage GE Silicone Concrete. This will protect against water penetration, which can cause rot, cracks, and other damage. It stays flexible, remains waterproof and helps stop freeze-thaw damage before it starts.
Step 2: Inspect Joists, Hangers, and Connectors
Now it’s time to look closely at metal connectors and hangers. If you see rust, loose nails or movement, it’s time to upgrade. Remember: screws beat nails every time! Structural screws are designed for high-load connections. They won’t back out; they offer superior pull-out resistance and are made for long-term exposure.
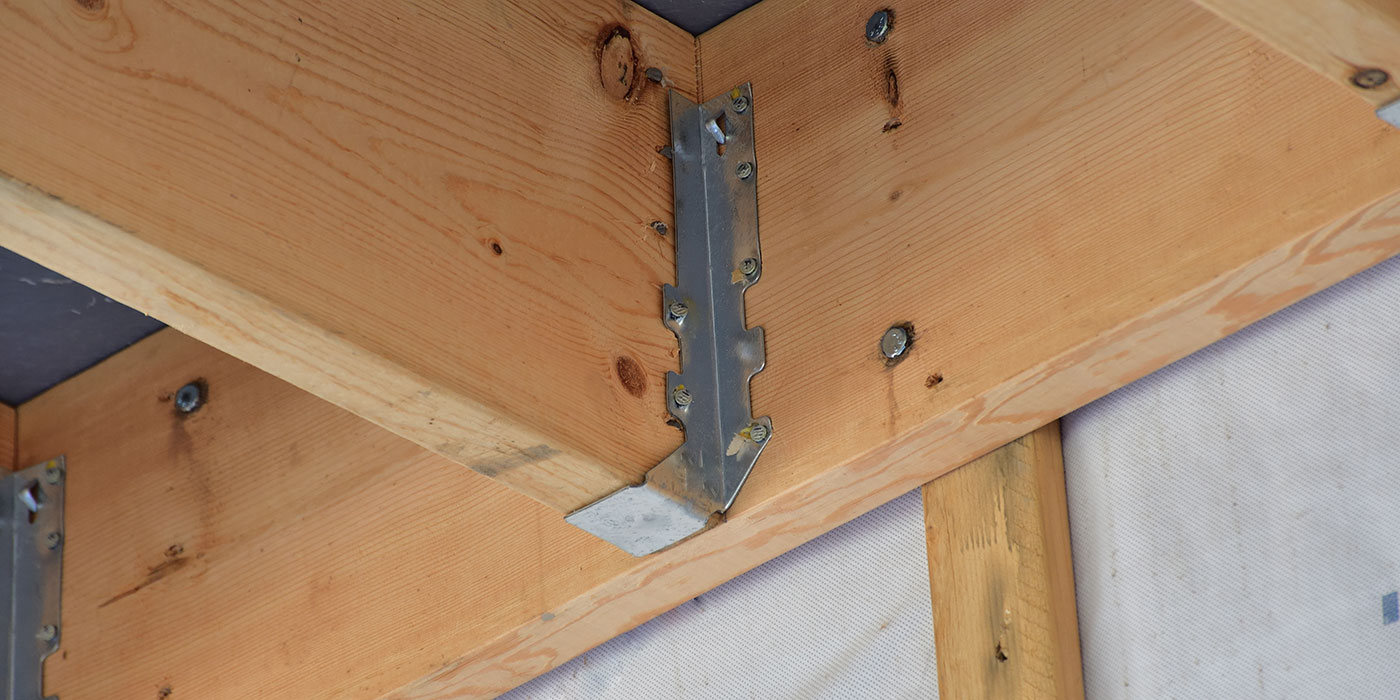
Timber Tip

Your best upgrade move is to swap your old nails for Simpson Strong-Tie Strong-Drive® SD Connector Screws.
We love them for a few reasons: they’re code-compliant, engineered specifically for use in connectors, and dramatically improve holding power without needing specialized tools. We’re confident they will add years of life and a massive margin of safety to your deck!
Step 3: Replace Where Needed
After checking and sealing the leader board, footings and other structural elements, you’ll want to secure or replace the boards. Even with a solid frame, deck boards can still be a problem. Warping, cupping and board lifts are often caused by inadequate fastening.
When loose boards are removed – or if you can check the structure from underneath, be sure to make sure the fasteners and connectors are in good shape and aren’t warped or rusty. Replace the connectors and fasteners as you check the deck boards or structure.
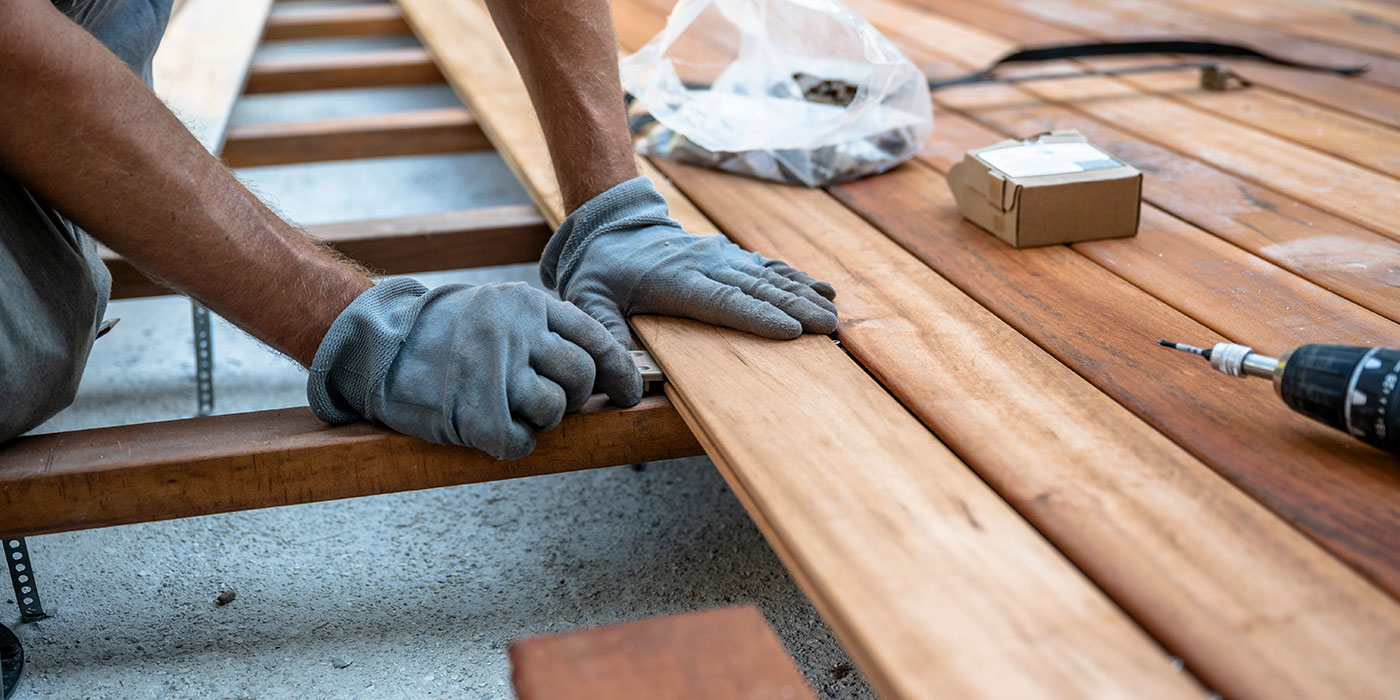
Timber Tip
Precision matters during this step. Our recommendation for tools includes:
- The Makita 18V LXT 6-1/2″ Circular Saw: Use this for cutting clean blocking or reinforcement lumber.
- The Makita Impact Driver will drive structural screws confidently and securely.
- Richelieu PWR-PVH screws are great for fastening deck boards properly. Their holding power helps prevent boards from shifting, lifting or popping over time. This is important with temperature swings and moisture exposure.
A strong, well-built deck doesn’t just look great, it performs better and feels better, too. Upgrade your outdoor space with a design built for summer and engineered to withstand everything a Canadian winter can throw at it. Visit your local TIMBER MART today to get started!