Beautiful paint colours often get the credit for a stunning room, but professional-looking interiors are usually won or lost long before the first coat of paint is applied. Smooth walls, crisp trim lines and seamless transitions create the polished backdrop that makes every colour fixture and furnishing look more expensive.
The challenge is that wall preparation is also the step most homeowners rush through. Filling a few holes and rolling on paint may seem faster, but skipped prep work can lead to visible seams, uneven texture, flashing and rough trim that stands out once the room is fully painted.
Whether you’re refreshing a living room, updating a hallway or finishing a basement or lower level renovation, this guide walks through the same preparation principles professionals use to create a flawless interior finish.
Think Of Prep As A Complete System
A smooth paint finish is not the result of one product. It comes from a sequence of steps that work together: accurate drywall cutting, careful joint finishing, thorough sanding, trim preparation and proper priming.
Approaching the project as a system helps avoid common problems such as uneven joints, rough edges around electrical boxes and paint that absorbs differently across repaired areas. The goal is to create one continuous surface before any colour is introduced.
Start by inspecting the room in good lighting. Look for nail pops, dents, cracked corners, rough seams and gaps where trim meets the wall. Mark each area with painter’s tape so nothing is missed during the repair stage.
Timber Tip
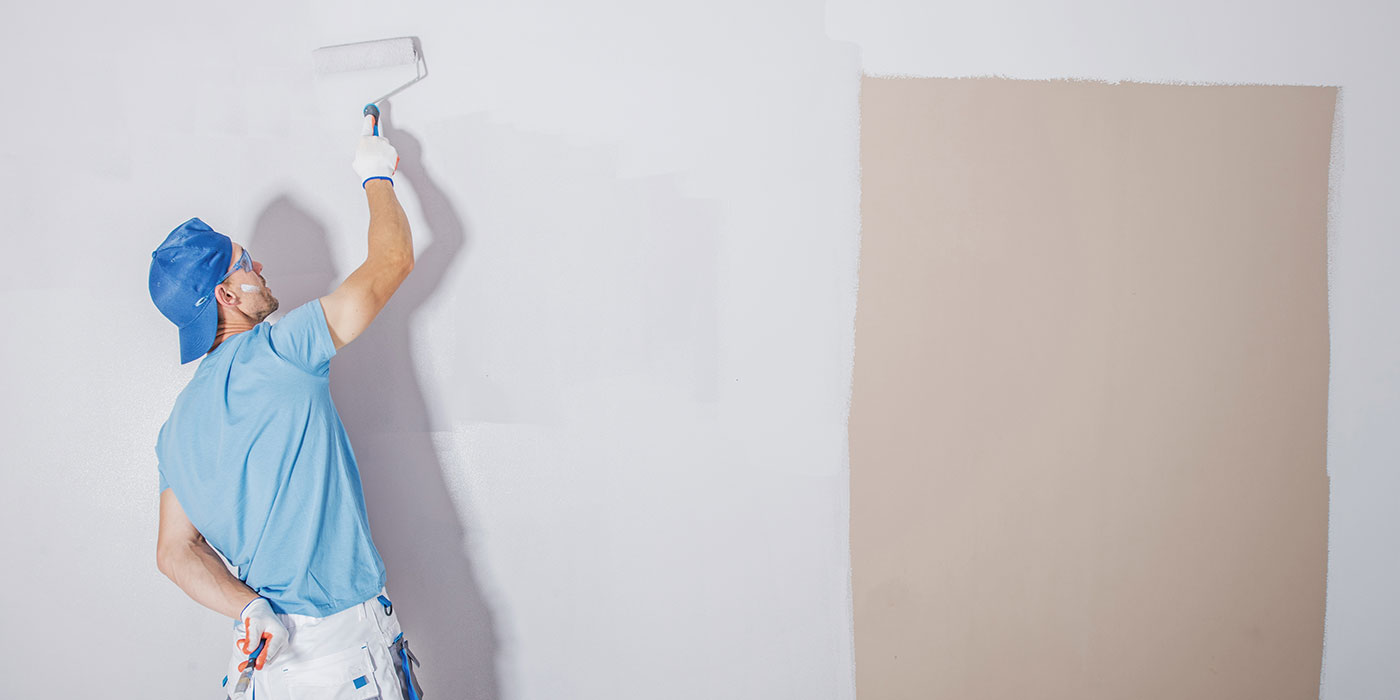
Stand a portable work light close to the wall and shine it across the surface at a low angle. Raking light will reveal imperfections that are almost invisible under normal room lighting.
Make Precise Drywall Cuts From The Start
Clean drywall work begins before the compound is opened. Rough openings around electrical boxes, switches and lighting create extra patching work and can leave visible gaps around cover plates.
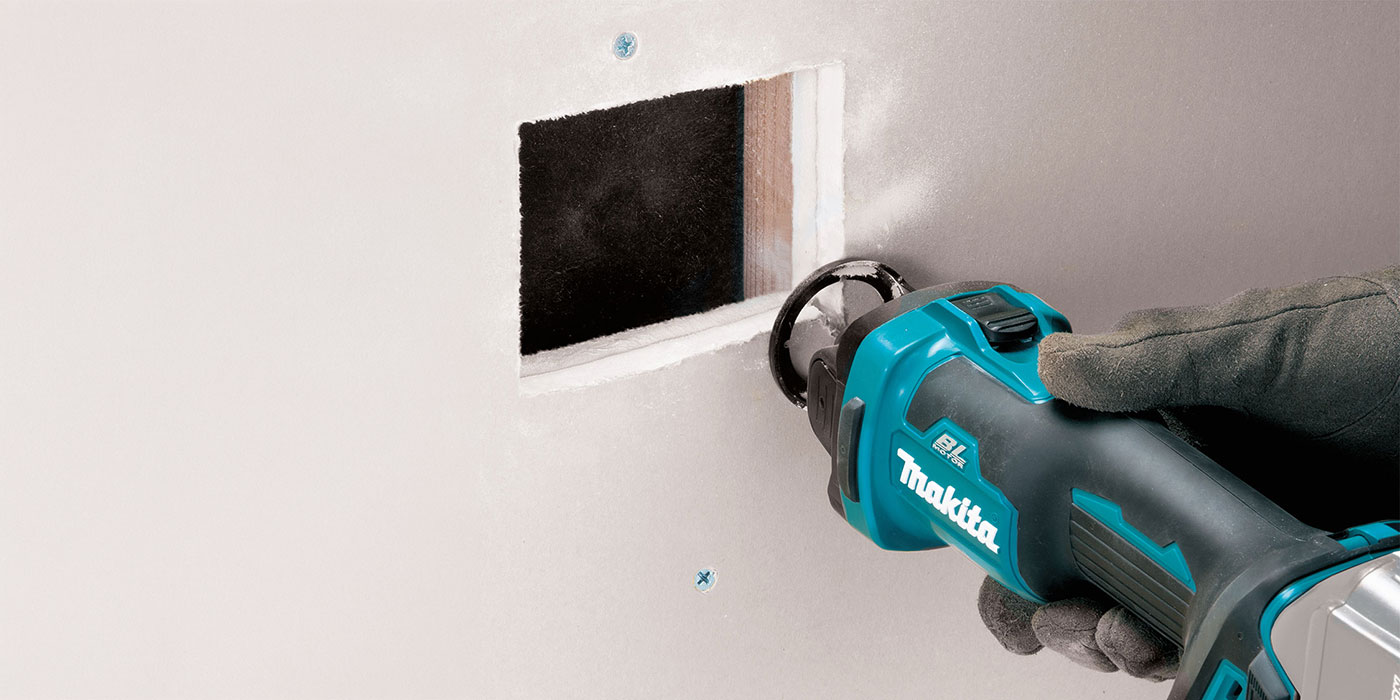
The Makita 18V LXT® Cut-Out Tool with AWS® is designed for precise drywall cutting around electrical boxes and lighting fixtures. Accurate cuts help create tighter fits, reduce touch-up work and make the finished installation look much cleaner.
Take time to mark outlets and switch locations carefully before cutting, and test-fit the drywall before fastening it permanently. Small adjustments are much easier to make at this stage than after the wall has been taped and finished.
Timber Tip
Label each electrical box location on the floor before lifting large drywall sheets into place. It is much easier to find the opening accurately when the sheet is already secured to the wall.
Finish Joints Like A Pro
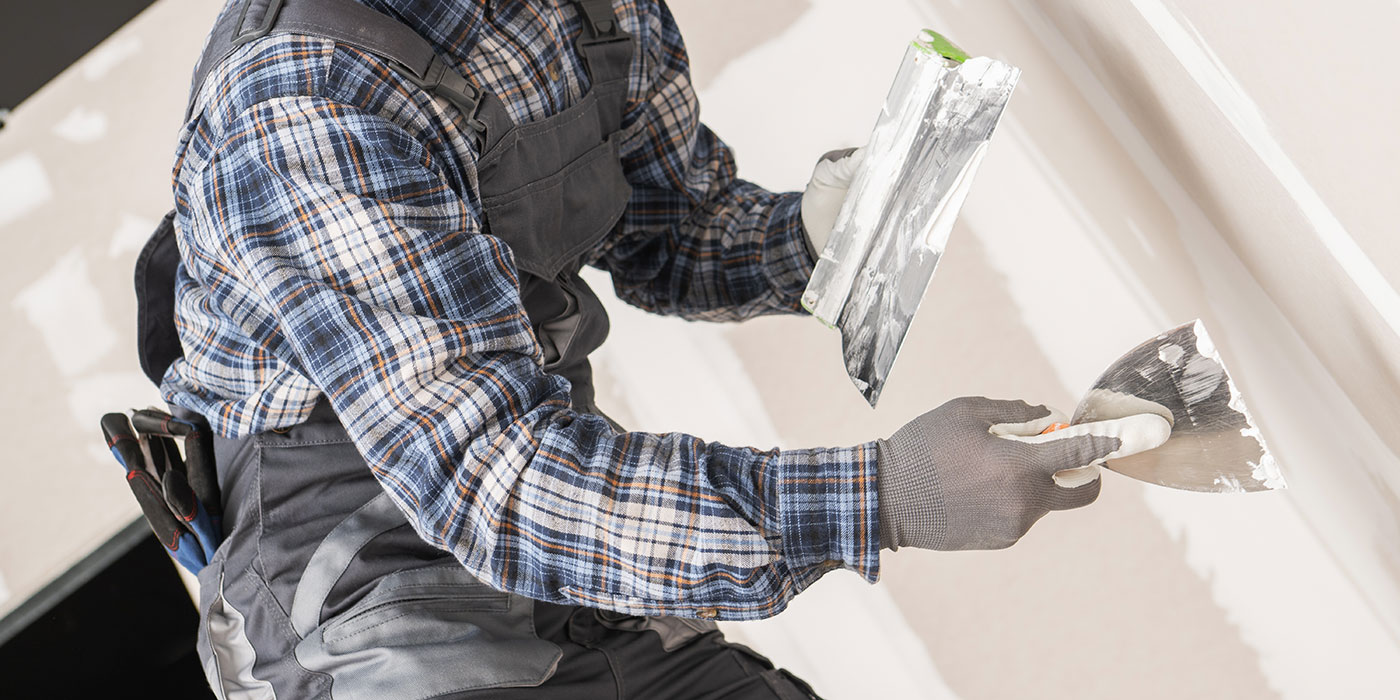
Once the drywall is installed, focus on creating smooth, invisible joints. Apply tape evenly and build up thin coats rather than trying to fill the joint in one pass. Multiple light coats are easier to sand and less likely to shrink or crack.
For medium-sized rooms, CGC Dust Control Drywall Compound in the 12L pail is a practical choice for finishing seams, corners and repairs. Its dust-control formulation can help reduce airborne dust, which is especially helpful when working in occupied areas of the home.
Allow each coat to dry fully before applying the next. Rushing this stage can trap moisture and create soft spots that are difficult to sand evenly later.
Timber Tip
Feather each coat a little wider than the previous one. A gradual transition is far less noticeable after painting than a narrow patch with abrupt edges.
Sand For A Seamless Surface
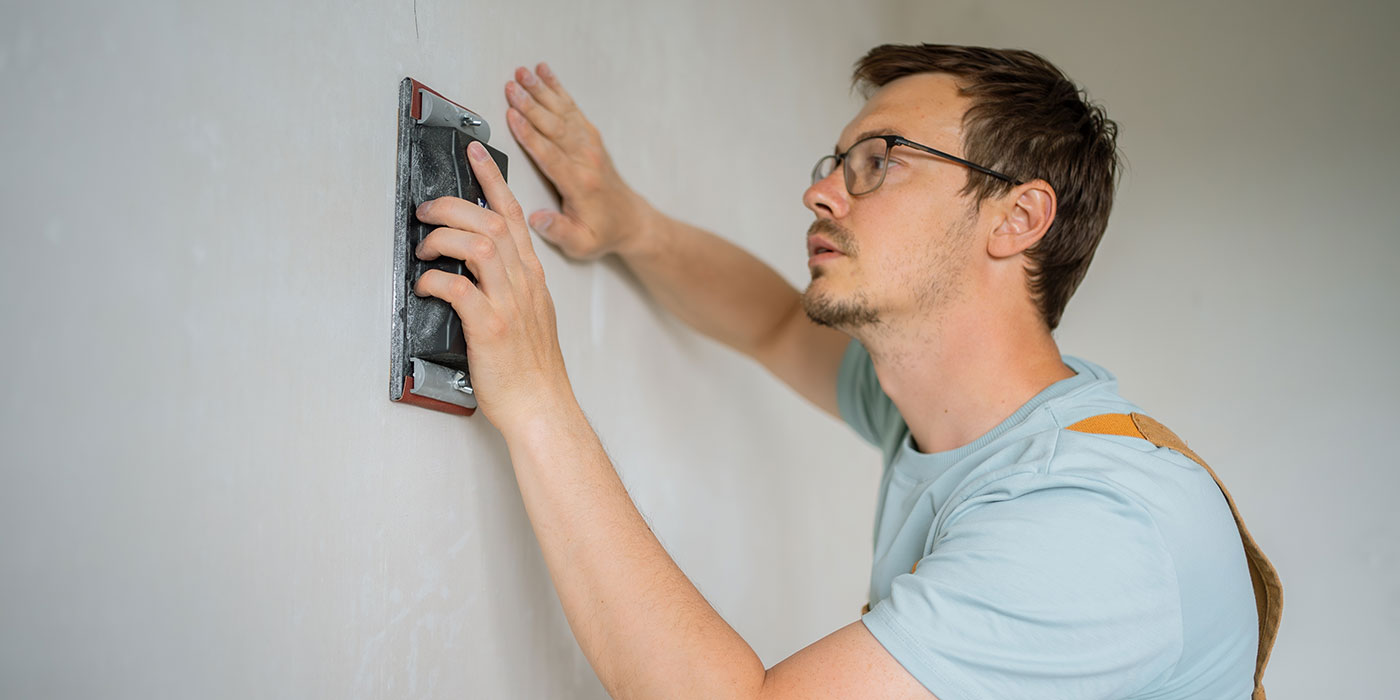
Sanding is where good drywall work becomes great drywall work. The goal is not to remove large amounts of compound but to blend every repair smoothly into the surrounding surface.
Use light pressure and keep the sanding block moving to avoid creating flat spots or grooves. After sanding, wipe the walls with a slightly damp microfiber cloth to remove residual dust before priming.
Pay special attention to corners, ceiling lines and areas that will receive strong natural light, as these are the places where imperfections tend to become most visible.
Timber Tip
Run your hand across the wall after sanding. Your fingertips will often detect ridges and edges that your eyes miss, especially on light-coloured drywall.
Upgrade Builder-Basic Trim While Prepping
Wall preparation is the perfect time to improve standard trim and millwork. Freshly painted walls can make worn doors and baseboards look even more dated, so addressing them at the same time creates a much more cohesive result.
Remove loose paint, fill dents and smooth rough areas before painting. The Makita 18V LXT® 5″ Random Orbit Sander helps create a smooth, paint-ready surface on doors, baseboards and casing with less visible scratching than aggressive sanding methods.
Vacuum the dust thoroughly and wipe the trim clean before applying paint. Even small amounts of sanding dust can affect the final finish.
Timber Tip
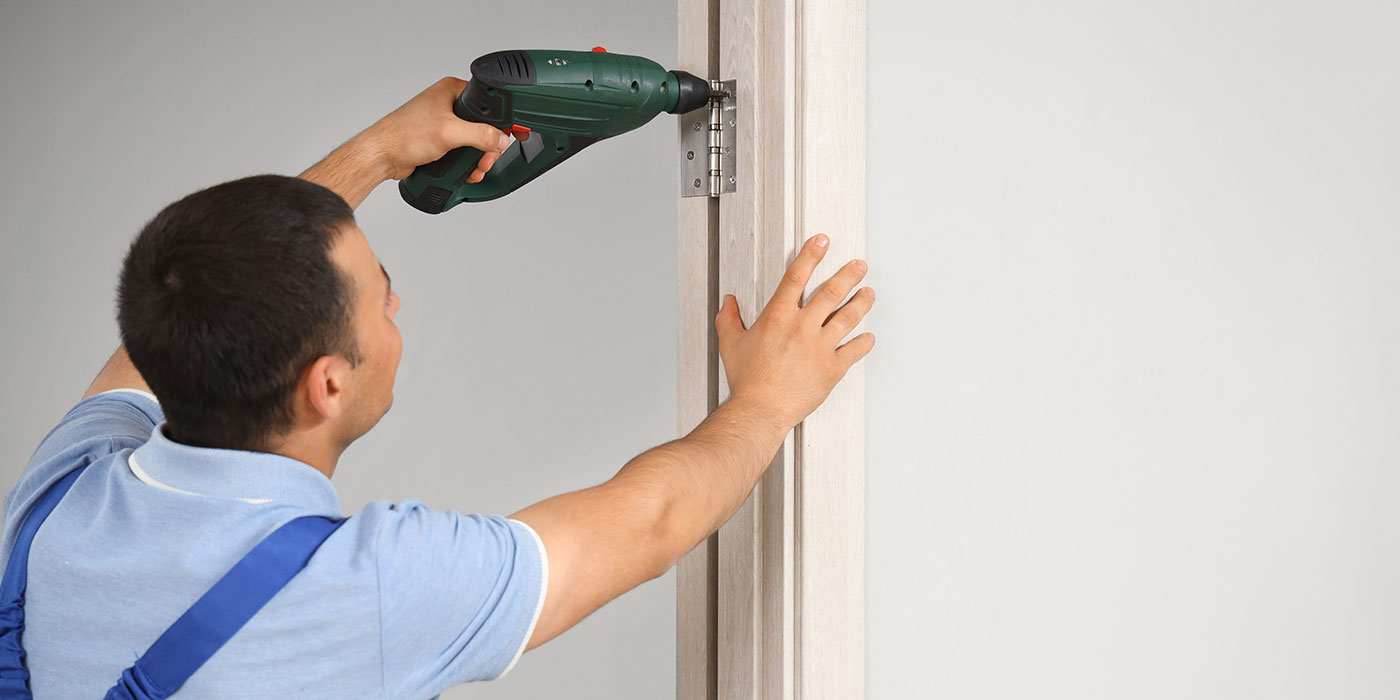
Number doors and their hinges with painter’s tape before removing them from painting. Reinstalling each door in its original opening usually results in a better fit and less adjustment later.
Prime Before You Paint
Fresh drywall compound is porous and can absorb paint unevenly, creating dull spots that show through the finished colour. Primer is what turns a patchwork of repairs into one consistent surface.
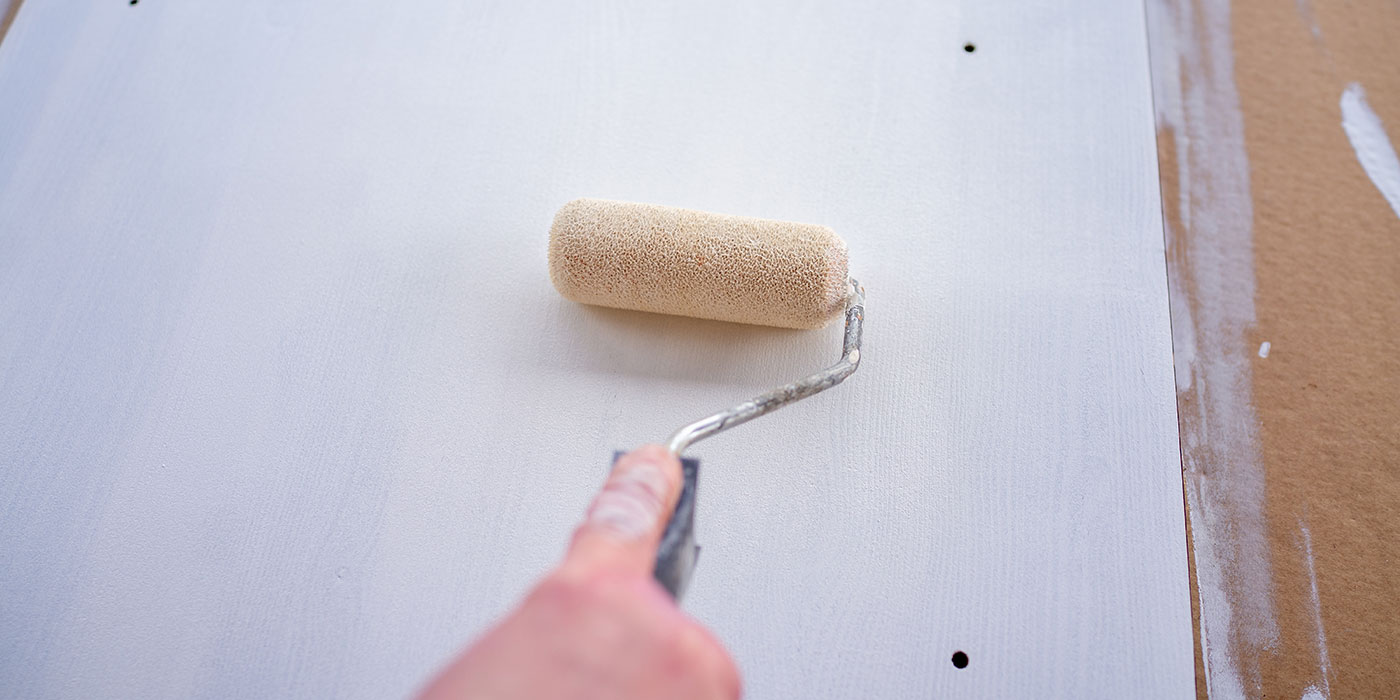
Apply PPG SealGrip® Universal Primer over repaired drywall, new drywall and any sanded trim areas. This helps seal porous surfaces, improve adhesion and create a uniform base for the topcoat.
Allow the primer to dry completely, then inspect the walls again in strong light. Primer often reveals imperfections that are difficult to see on bare drywall. Spot-fill and sand any remaining flaws before moving on to finish paint.
Timber Tip
Keep a small container of patching compound nearby during the priming stage. Tiny imperfections are easiest to correct immediately after the primer highlights them.
Choose A Durable Finish For Doors And Trim
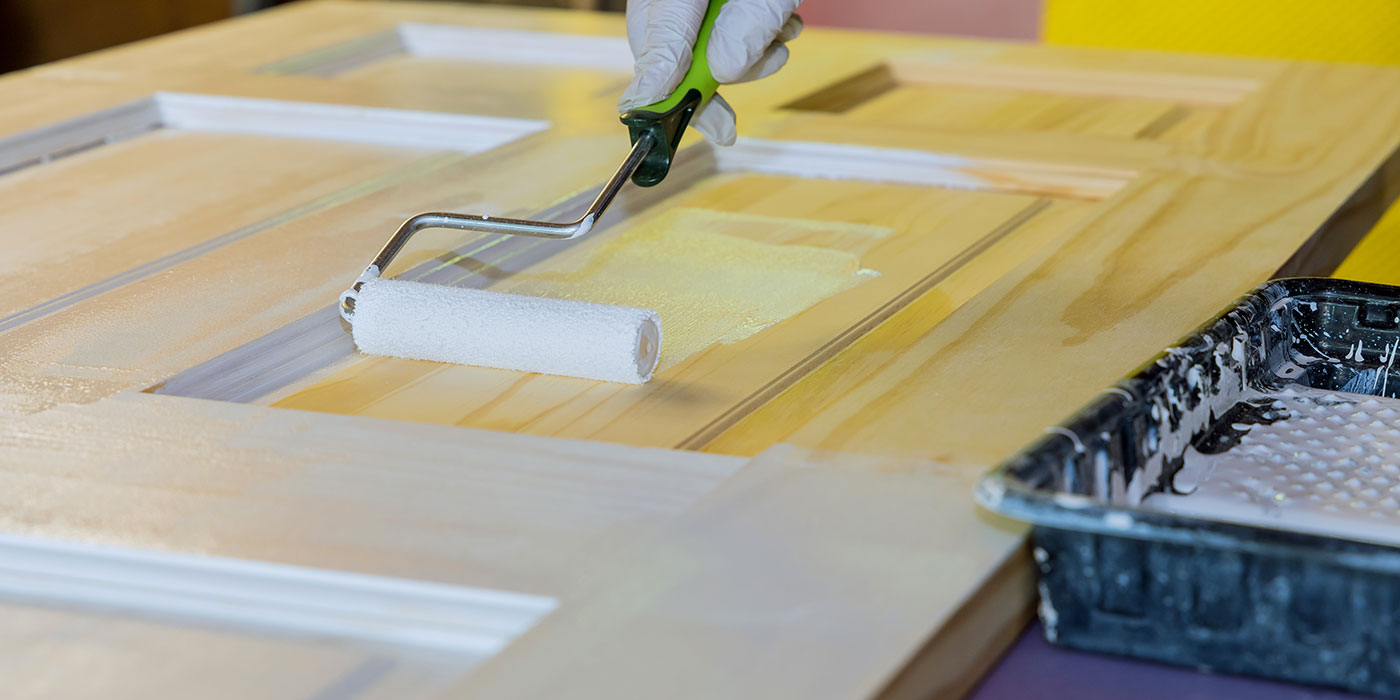
Interior doors, baseboards and casing receive far more wear than walls, so they benefit from a tougher coating. For a crisp, durable finish, PPG Break-Through® is an excellent choice for interior doors and trim because it is formulated to resist scuffs, fingerprints and everyday household wear.
Use a high-quality brush for detailed profiles and a small foam or microfiber roller on flat sections to help achieve a smoother finish. Two thin coats generally produce a more refined appearance than one heavy coat.
Timber Tip
Paint doors horizontally whenever possible. Laying the door flat reduces the chance of drips and allows the finish to level out more evenly.
Finish The Look With Better Hardware
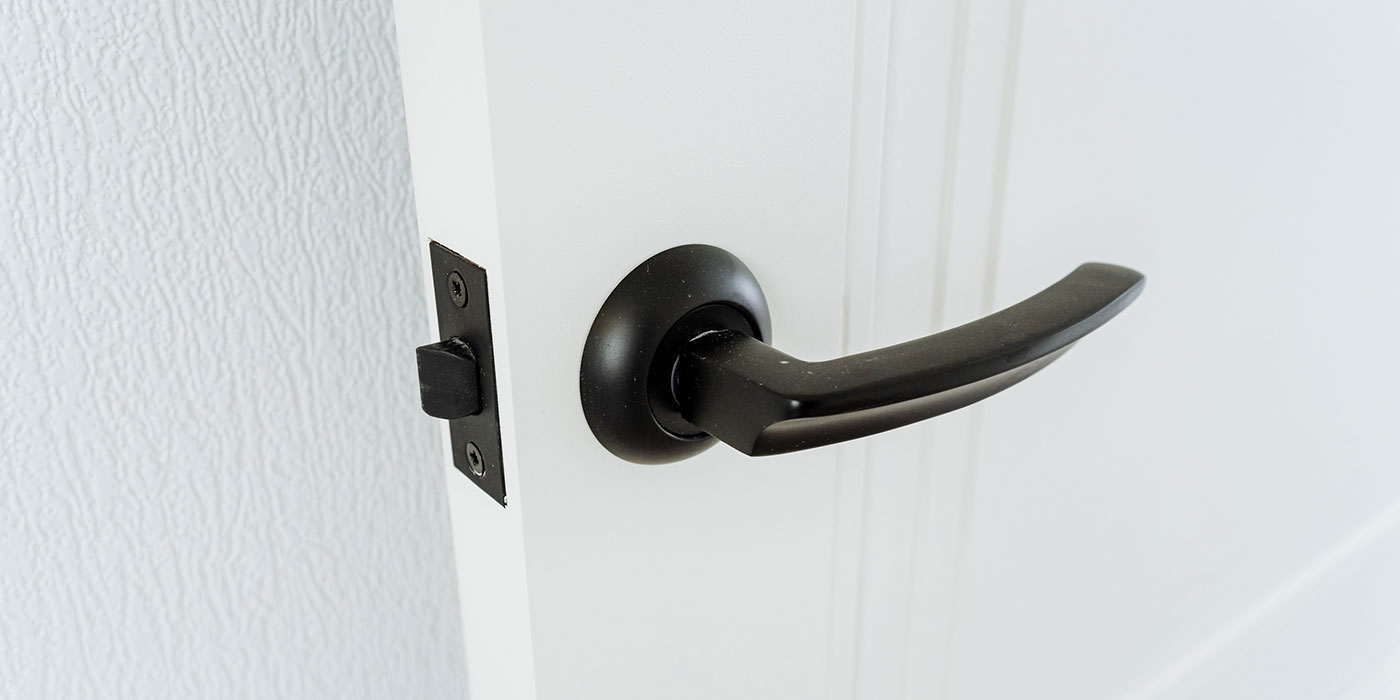
One of the fastest ways to make a hallway or living space feel custom is to replace basic builder-grade hardware. New handles act like jewellery for the home, adding a finishing detail that immediately elevates painted doors and trim.
Richelieu Decorative Hardware offers a wide range of contemporary, transitional and classic styles that can coordinate with the rest of your interior finishes. Matching hardware throughout connected spaces helps reinforce the clean, intentional look created by the upgraded millwork.
When selecting new handles, consider the room’s overall palette and metal finishes so the hardware feels integrated rather than added as an afterthought.
Timber Tip
Replace all visible hallway door handles at the same time for the most cohesive result. Consistent hardware creates a stronger custom-built impression than upgrading a single door.
Great interiors are rarely about expensive materials alone. Their polished look comes from smooth walls, crisp trim and carefully prepared surfaces that allow paint and architectural details to shine. By treating wall prep as a complete finishing system, you can achieve a noticeably more professional result.
Your local TIMBER MART team can help you find the drywall compounds, Makita tools, primers, trim paints and decorative hardware needed to finish the job with confidence.