New flooring doesn’t fail because of the surface; it fails because of what’s underneath! Warping, cracking, squeaks and loose boards can almost always be attributed to insufficient subfloor prep.
To keep your new hardwood, LVP or tile lasting longer – especially under warranty – we’re running through some steps and tips to follow before the first plank even goes down.
Step 1: Remove What Doesn’t Belong
This could include old linoleum, carpet padding, adhesive and debris. All of these materials can prevent new flooring from sitting flat.
When it comes to products that help make quick work of stubborn materials, consider a heavy-duty TASK Scraper to create a clean, solid base before you begin your installation.
Timber Tip
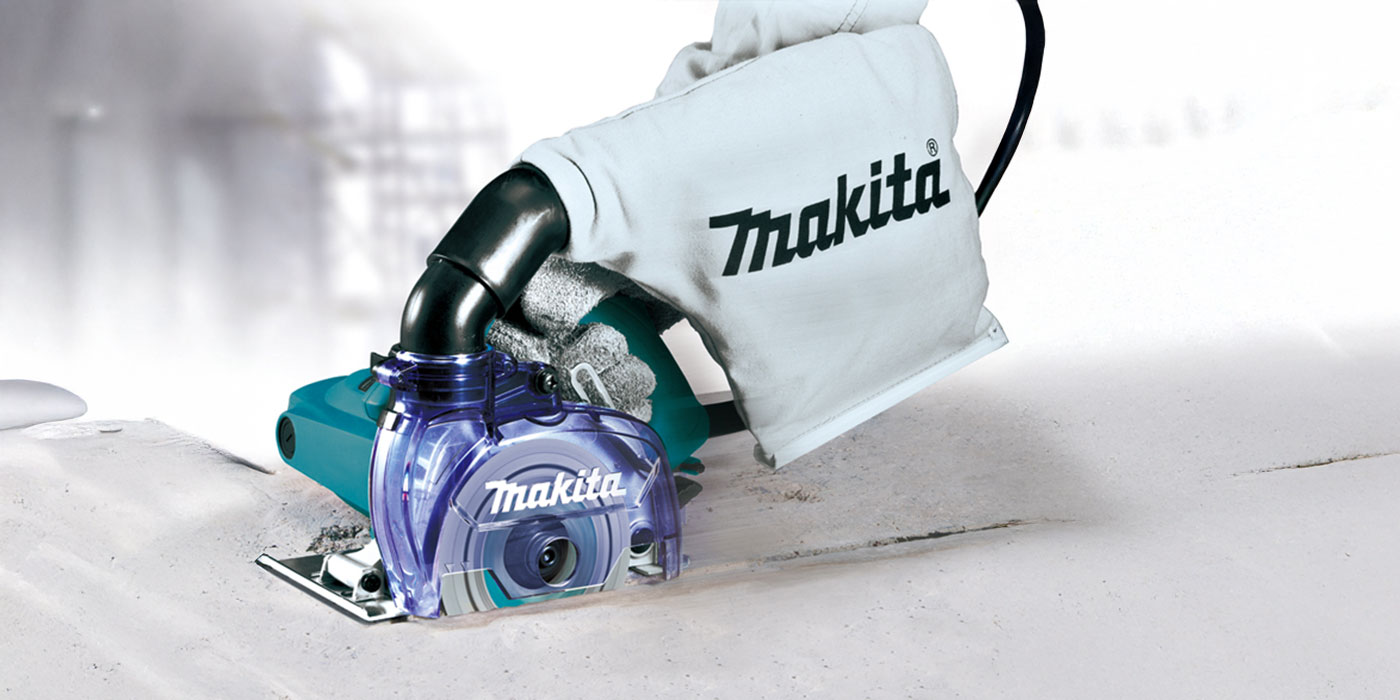
Before laying subflooring on concrete, you may need to make some minor surface corrections – that’s where the Makita 5″ Masonry Saw can help. Humps in concrete can be lightly scored and chipped away with precision to help ensure a level base before laying the vapour barrier and any insulation.
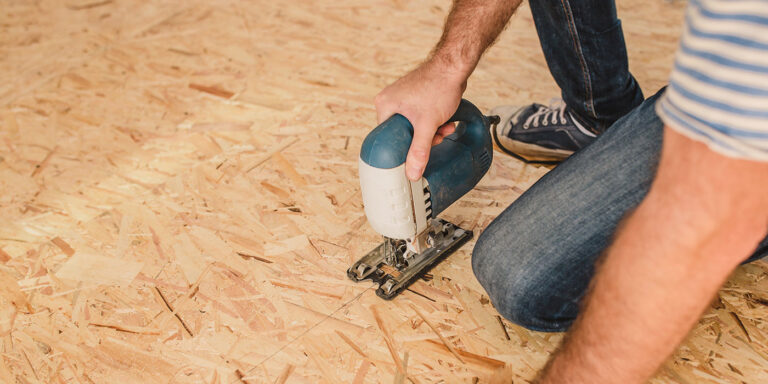
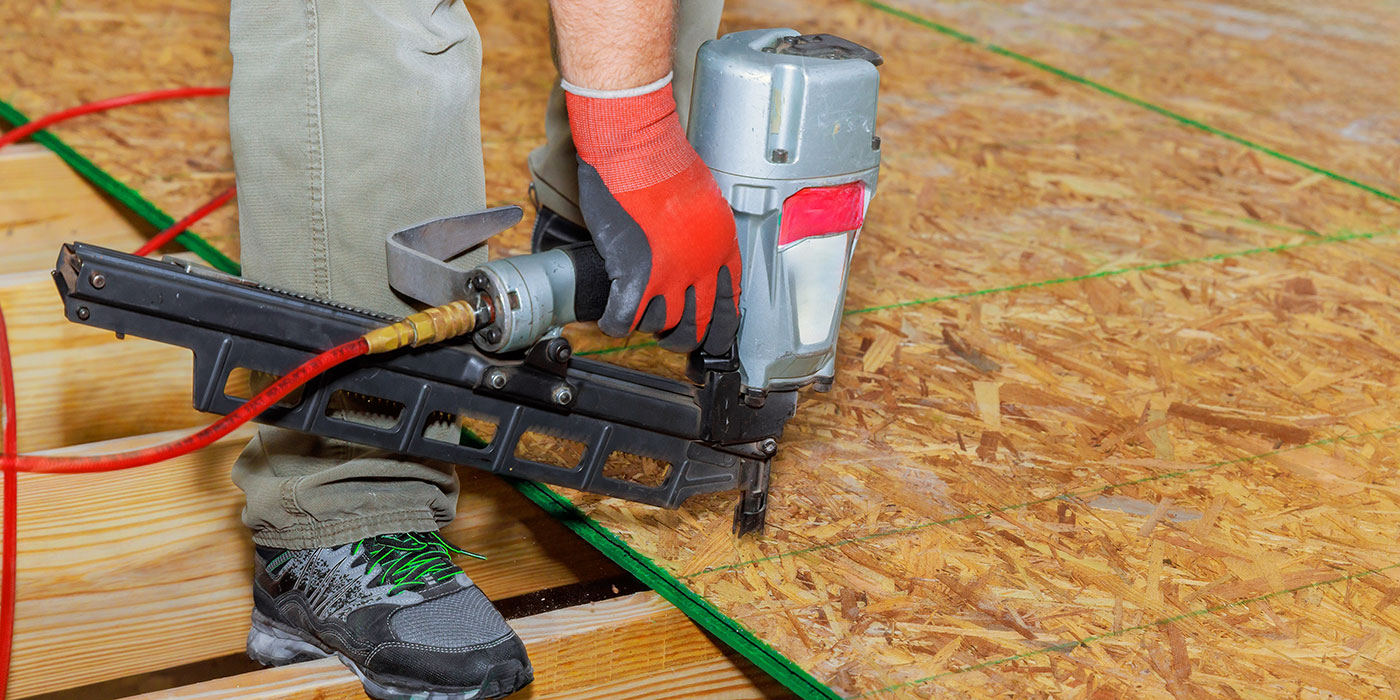
Step 2: Eliminate Squeaks and Movement
No one wants a squeaky floor that moves around, and a quiet floor starts with a secure subfloor. Loose plywood or OSB (Oriented Strand Board) should be fastened firmly to the joists to prevent flexing that can lead to squeaks or cracked finishes.
Using a Makita 18-gauge Brad Nailer (or screws where required) helps secure everything down, creating a stable and silent foundation that supports wide planks and patterned installs alike.
Timber Tip
When fastening the subfloor, be sure to mark the joist locations and secure tightly with nails every 6-12 inches. Once panels are secured, walk the floor to listen for movement or squeaks. Fixing problem spots early is much easier than trying to fix them after your floor is already installed.
Step 3: Check For Flatness
Don’t just settle for “good enough”! Most flooring manufacturers allow no more than ⅛ of variation over six feet. A Makita Tape Measure and a straight edge will make it easy to spot dips and humps before they become visible problems.
Remember: it’s not always the most glamorous part of the job, but it is the most important! A proper subfloor protects your investment, prevents callbacks, and ensures your flooring performs as intended, year after year.
Timber Tip
Given how vital the subfloor is, expect that you’ll be spending a large portion of time on your knees. We recommend Richelieu Task Tools Kneepads to finish the job thoroughly and comfortably.
To ensure you get your flooring project done right, from the ground up, visit your nearest TIMBER MART. Our experts are ready to give you prep tool tips and professional advice to ensure your subfloor is anything but subpar.