


There’s just something so satisfying about the complete home trend of bringing a well-made piece of wood furniture back to life. A thrifted credenza, inherited cabinet, or outdated built-in can often have more character and construction quality than something brand new. With the right preparation, it can become a standout feature in your home.
This winter, the heritage revival trend is putting warm wood tones, vintage furniture and restored architectural details back in the spotlight. Rather than replacing solid pieces that feel dated, homeowners are sanding, refinishing and repainting them to work with more contemporary interiors while preserving the character underneath.
The key to a successful restoration is knowing what you’re working with before you start. From checking for structural damage to creating a smooth, paint-ready surface, here’s how to give an older wood piece a fresh finish that’s ready for holiday hosting and everyday life.
1. Start With A Thorough Inspection
Before you reach for the sander, take a close look at the entire piece. Check built-ins, cabinet doors, shelves and furniture frames for loose joints, damaged veneer, water stains and areas where the wood may have deteriorated.
Pay particular attention to deep cracks. Surface scratches and minor imperfections can often be addressed during preparation, but deeper cracks may indicate a structural issue that needs to be repaired before refinishing. Also, check that drawers open properly, doors sit squarely and hardware is secure.
This is the stage where it pays to slow down. A beautiful new finish cannot compensate for a piece that is unstable or damaged underneath.

Timber Tip
Place a rug under your kitchen or dining table to define it as the “eating area” and really anchor the space. This adds warmth, protects your floors, and visually separates the table from cooking and prep zones, keeping it open and organized.
2. Clean and Prepare Before Sanding
Years of dust, furniture polish, grease and everyday grime can build up on wood surfaces. If you start sanding without cleaning first, you risk embedding contaminants into the surface and making the finishing process more difficult.
Remove hardware and clean the piece thoroughly with a suitable cleaner. Allow the surface to dry completely before moving on to sanding. This is also a good opportunity to remove old adhesive, loose finish or other surface contaminants that could interfere with the new coating.
If you’re working on a built-in, protect surrounding walls and flooring before creating any dust. For furniture, move the piece into a well-ventilated workshop or other suitable workspace where you can work safely and keep dust under control.

Timber Tip
Remove doors, drawers and hardware wherever practical before starting. Label each piece as you take it off so everything returns to its original position. This is especially helpful with older built-ins where components may not be perfectly interchangeable.
3. Create A Smooth, Consistent Surface
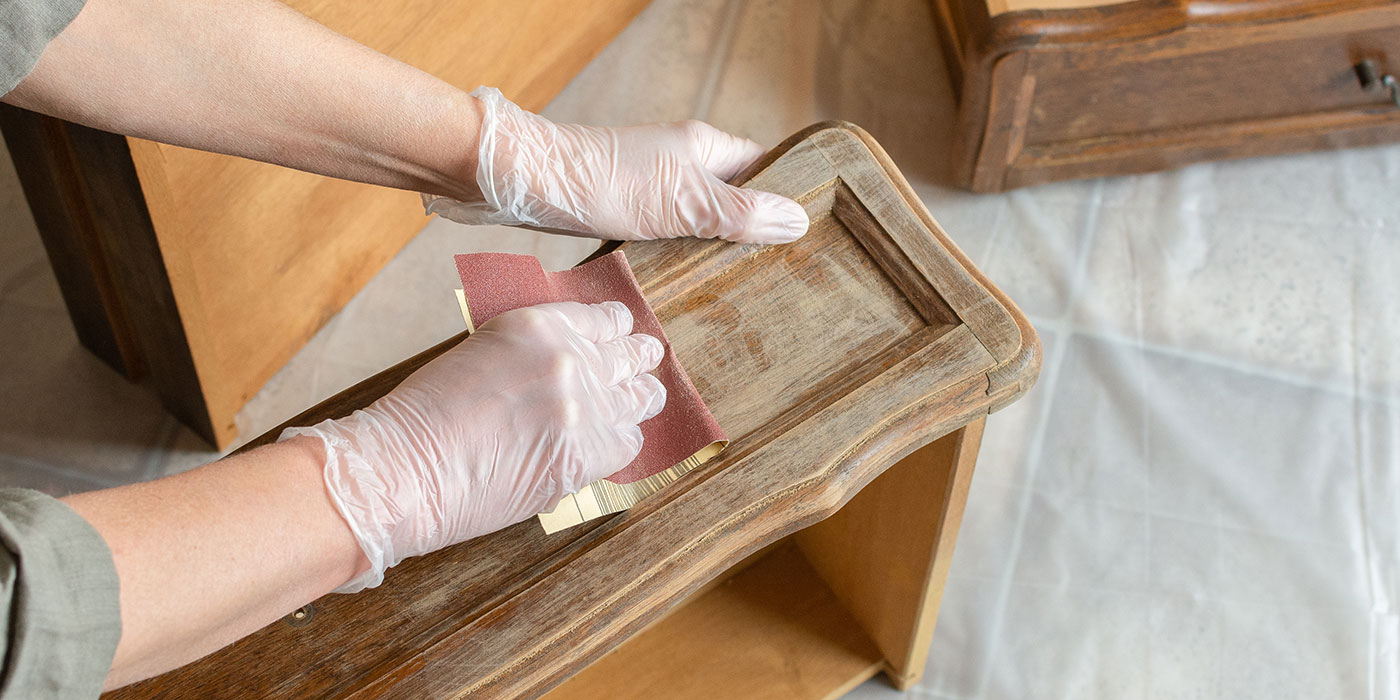
Sanding is where the transformation really begins. The goal isn’t simply to remove every trace of the existing finish, but to create a consistent surface that your new coating can bond to.
The Makita 5″ Random Orbit Sander is an ideal indoor workshop essential for this stage. Its random-orbit action helps produce a smooth, swirl-free finish, while its dust-collection capabilities help keep the workspace cleaner as you work.
Start with the appropriate abrasive for the condition of the existing surface and work progressively rather than jumping straight to an extremely fine grit. Pay extra attention to edges, corners and detailed areas where old coatings can remain.

Timber Tip
Keep the sander moving continuously and let the tool do the work rather than pressing down aggressively. Check the surface frequently with your hand. The goal is an even, uniformly prepared surface, not simply removing as much material as possible.
4. Repair Imperfections Before Finishing
Once sanding is complete, inspect the piece again. Small dents, holes and surface imperfections are much easier to identify now that old finish has been removed or dulled.
Fill appropriate cracks, nail holes or imperfections with a compatible wood filler, then allow it to cure fully before sanding those areas smooth. For damaged veneer or loose components, make sure they are properly secured before moving on.
Take your time here. Finishing over an imperfection will usually make it more noticeable, not less. The smoother and more consistent the substrate, the more polished the final result will look.
Timber Tip
After filling and sanding repairs, run your hand across the surface with your eyes closed. Your fingertips can often detect small ridges or transitions that are difficult to see under workshop lighting. Sand and recheck until the surface feels consistent.
5. Choose a Durable New Finish
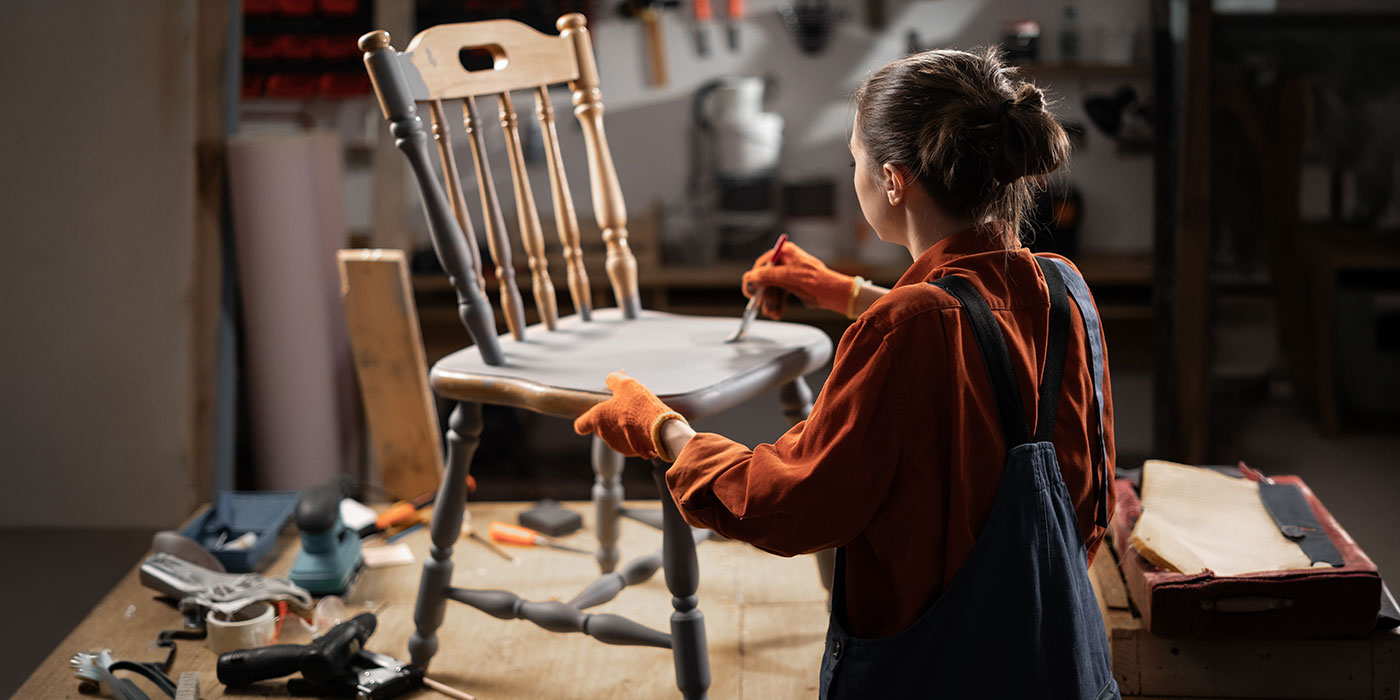
Once the wood is clean, repaired and properly sanded, it’s time to decide how you want the finished piece to look. Leaving natural wood exposed can highlight beautiful grain and character, while paint can completely modernize an outdated credenza or built-in.
For a painted finish, SICO Speciality Furniture & Cabinets provides a practical option for furniture and cabinetry projects. Its self-priming formulation is designed to create a factory-fresh, impact resistant finish, an important consideration for pieces that will see plenty of activity during holiday entertaining.
Whether you’re refreshing a built-in in a deep earth tone or giving a vintage credenza a sophisticated neutral finish, choose a colour that works with the surrounding room rather than treating the piece in isolation.
Timber Tip
Test your chosen colour on an inconspicuous area or a separate sample first. Colour can look dramatically different depending on the surrounding flooring, walls, natural light and existing wood tones.
6. Apply Your Finish With Patience
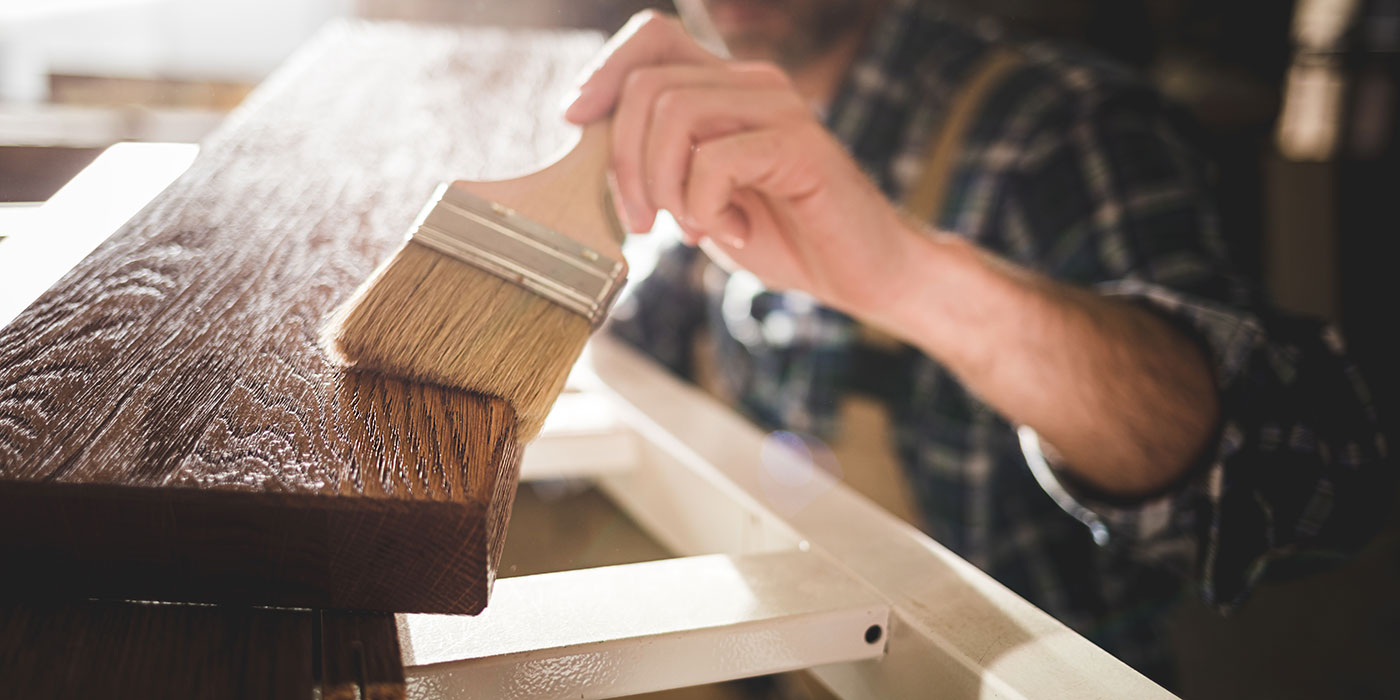
A high-quality coating still needs proper application to achieve a professional result. Avoid applying excessively heavy coats, which can lead to uneven coverage, drips or extended drying times.
Follow the product’s recommended application and drying instructions, and give each coat sufficient time to cure before handling or recoating. Pay particular attention to edges, corners and areas around hardware where wear tends to occur.
For furniture that will be used frequently, patience during this stage is worth it. The goal is a smooth, even finish that looks good under close inspection and can stand up to everyday use.
Timber Tip
Set up a dedicated drying area where finished components can remain undisturbed. Keep dust, tools and other materials away from freshly coated surfaces, and resist the temptation to reinstall hardware before the finish has adequately cured.
7. Reassemble and Bring the Piece Back to Life
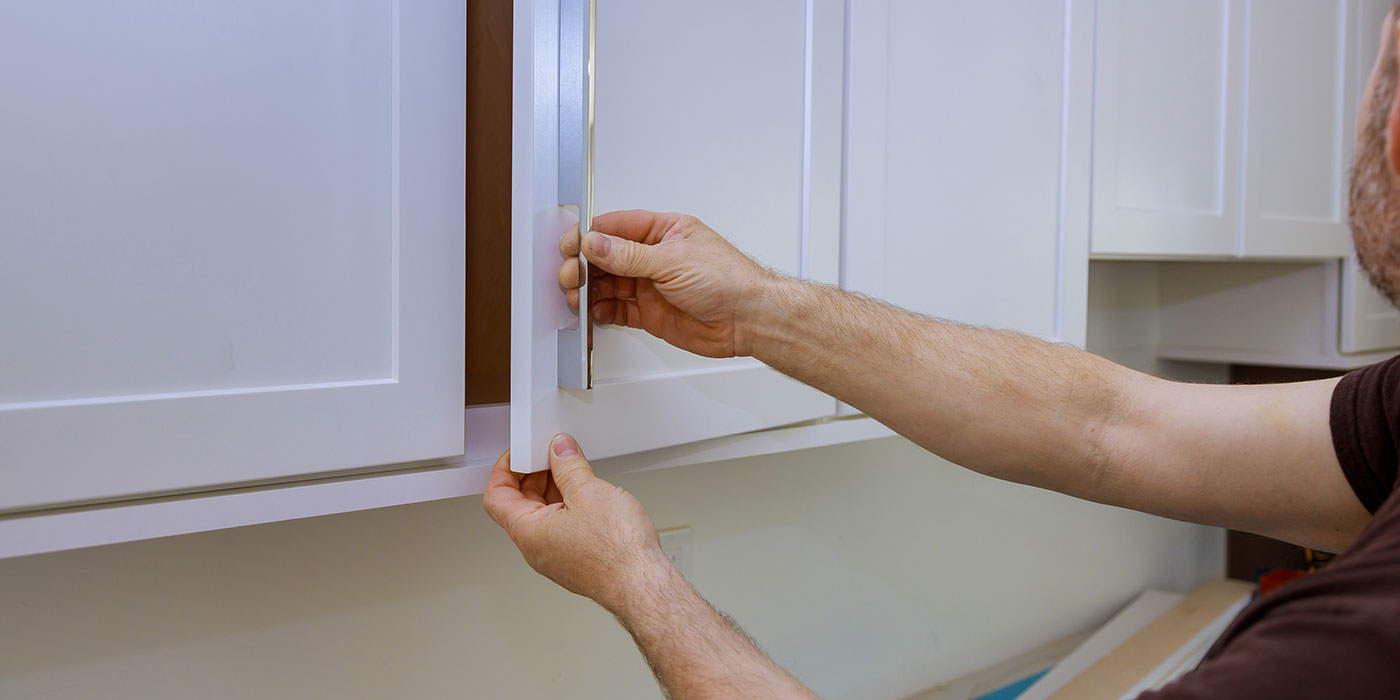
The final stage is putting everything back together and seeing the transformation. Reinstall doors, drawers and hardware carefully, checking that everything opens, closes and aligns properly.
This is also the perfect opportunity to replace outdated hardware if the existing pieces no longer suit the updated design. New knobs or pulls can provide another small but effective change, particularly on a vintage credenza or painted built-in.
Once everything is back in place, resist the urge to immediately fill every shelf or surface. Give yourself a moment to see how the restored piece works within the room. Sometimes, the simplest styling lets the craftsmanship and the transformation stand out best.
Timber Tip
Reinstall hardware by hand before using a drill to avoid over-tightening and damaging a fresh finish. Check door and drawer alignment before tightening everything fully, then make adjustments as needed.
Restoring an older piece of furniture or built-ins is more than a cosmetic update. It’s an opportunity to preserve quality materials, bring warmth and character back into your home and create something that feels personal rather than mass-produced.
With careful inspection, thorough preparation and the right tools and finishes, an outdated piece can become one of the most distinctive features in your home, just in time for holiday gatherings and years of everyday use.
Your local TIMBER MART can help you find the tools, coatings, hardware and building materials you need to take on your next restoration project with confidence!


