Replacing a screen in a door or window is an easy DIY repair job that will only take an hour or two. Below is a list of tools you will need before you begin:
- Replacement screen
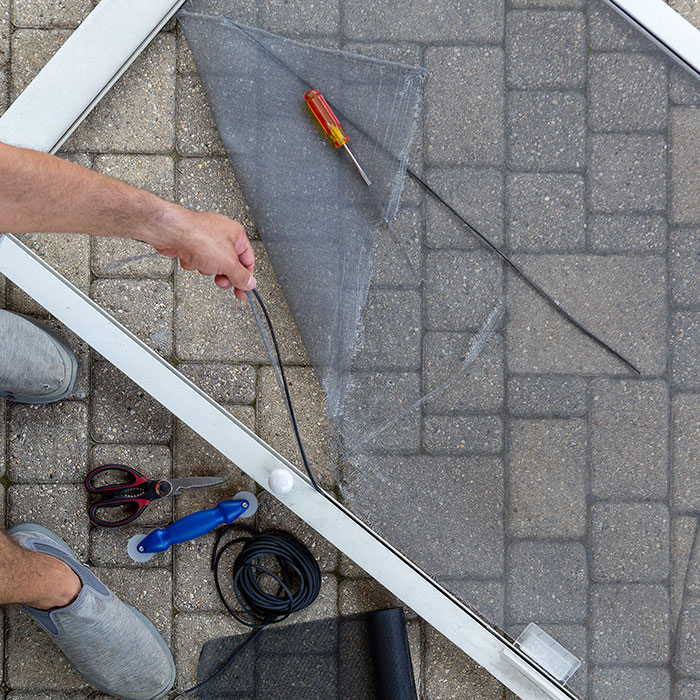
- Replacement spline (this is a rubbery cording that holds the screen in place). You may be able to use the old spline if it is in good shape
- Utility knife or scissors for cutting the screen
- Flat head screwdriver for prying out the old spline
- Spline tool for pressing the spline into the channel
You can purchase the tools you don’t have separately or you can purchase a kit for the size of screen you need and it will contain all the tools required.
1. Remove screen from house
Most screens lift inside the track and pull out from the bottom. Some screen doors with built-in rollers may have adjustment screws at the bottom that can be loosened so that the screen lifts out of the track.
2. Remove old screen and spline
Lay the screen on a large flat surface with the spline facing up. Use a flat head screwdriver to pry out one end of the spline and pull it out from around the perimeter of the frame. The old screen will now be unattached. Discard the old screen and wipe away any grime from the frame.
3. Lay the new screen door
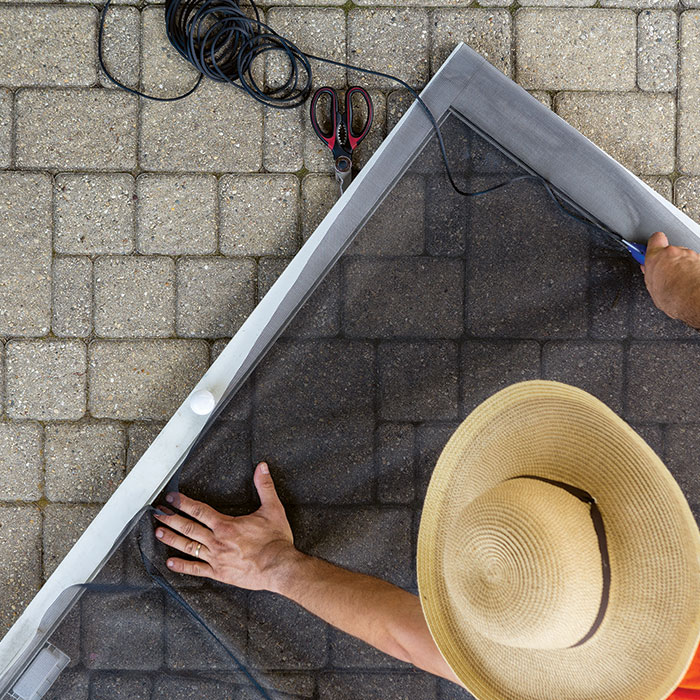
Unroll the screen over the frame making sure the grain runs parallel and there is a 2 inch overlap on all sides. Trim any excess screen to make it more workable.
4. Install the spline
Starting in a corner, push the spline into the groove using the spline tool’s concave wheel. Continue around the whole frame while keeping the screen flat and taught. Don’t pull too tightly or you could warp the frame. Be sure not to damage the new screen with the spine tool. When finished, trim the excess screen.
5. Reinstall the screen
Put the screen back the same way it came out. Hold it at an angle and push it up into the upper track. Then straighten it out and drop it into the bottom track. For screen doors with rollers, tighten the adjustment screws to secure it to the track.


