If you’re looking to update your home that’s stuck in the past, wide planks are in – and for good reason! They instantly modernize a space, warm up open layouts and create a cleaner and more cohesive look.
However, bigger boards come with bigger expectations. Wide planks leave less room for error, meaning proper prep, accurate cuts and clean finishing work are absolutely essential for this type of project.
Whether you’re going with wide hardwood floors or Luxury Vinyl Plank (LVP), precision matters. Read on to learn how to perfect your wide-plank flooring, from the first cut to the final trim.
1. Start With The Right Prep
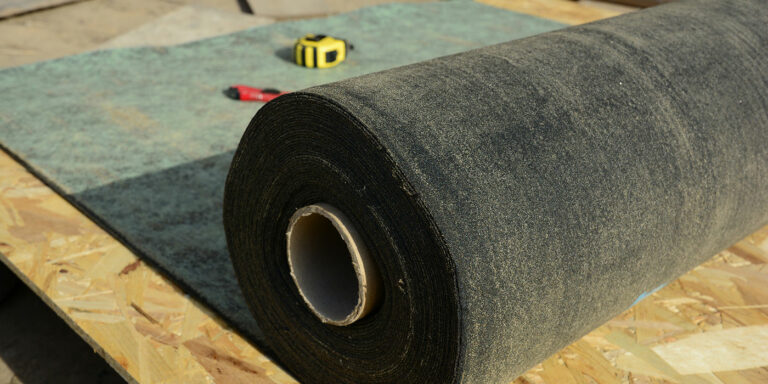
The first step is to have a level subfloor and take accurate measurements to help prevent gaps, movement, and wasted materials.
A durable, easy-to-read tape measure, like the Makita Tape Measure, makes it easy to plan your layout, deliver accurate materials estimates and ensure your rows stay straight in every room.
Timber Tip
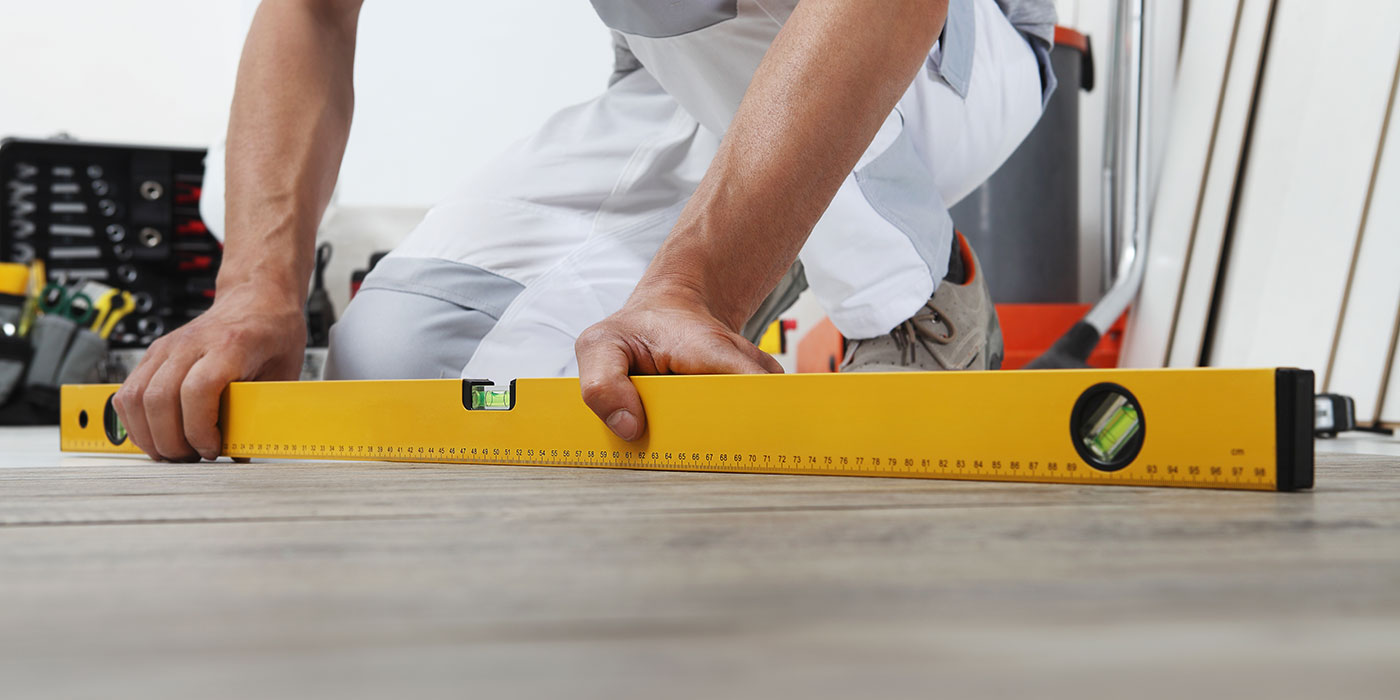
It’s common to feel uneasy about an uneven subfloor! Double or even triple-check your floors with a long level both on your subfloor and when installing the planks. Even the smallest dips or high spots can cause gaps or unevenness in the boards.
2. Cut Wide Planks with Confidence
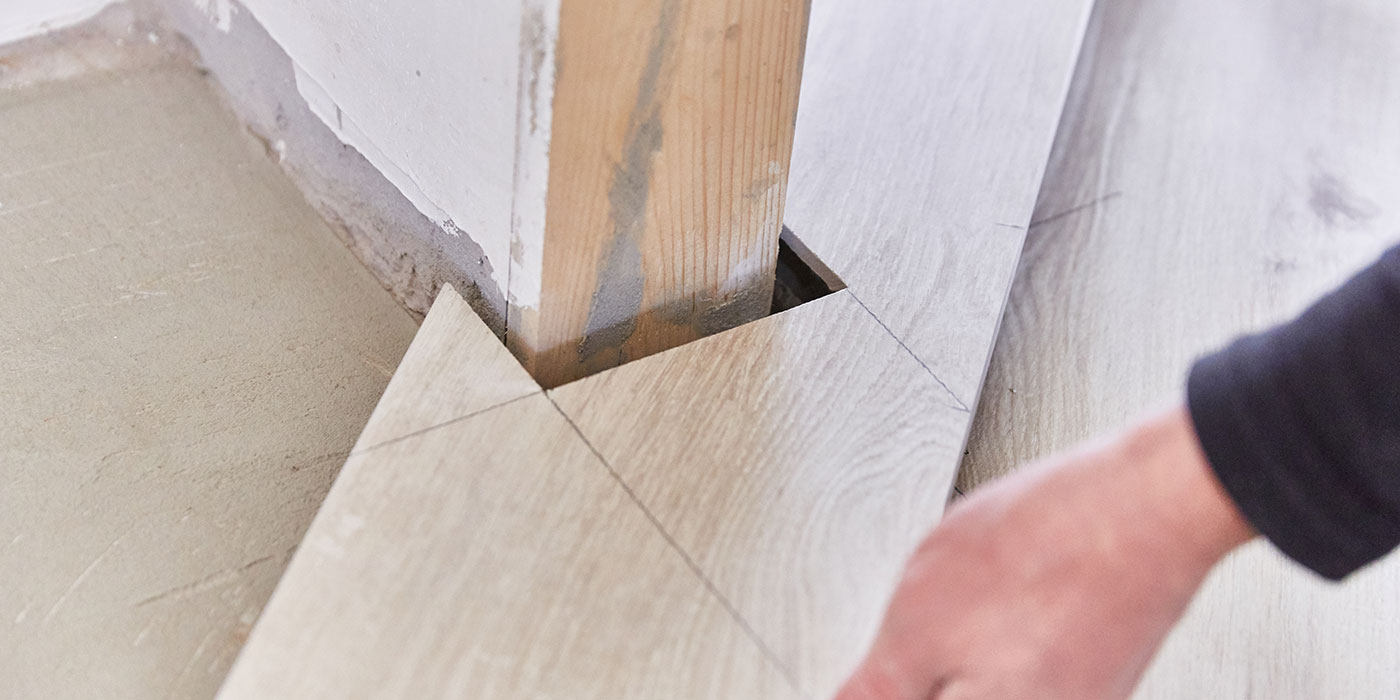
Now, onto the centrepiece: the cut. To keep your floors looking seamless across open-concept spaces, your cuts need to be straight, consistent and repeatable.
The Makita 10″ Sliding Compound Mitre Saw with LED Cut Line is built precisely for that level of precision. Its sliding function handles extra-wide planks in a single pass, eliminating the need for flipping and guesswork. Plus, beginners and experts alike will love the LED cut line, which clearly shows where the blade will land.
The result is cleaner edges, tighter joints and less wasted materials, especially when cutting baseboards and trim, where precise mitres make all the difference.
Timber Tip
Save time and material (and frustration!) by always making a test cut on a scrap plank first. This can help you confirm the angle, length, and fit before you move on to your actual flooring.
Finish Like A Pro, With Comfort
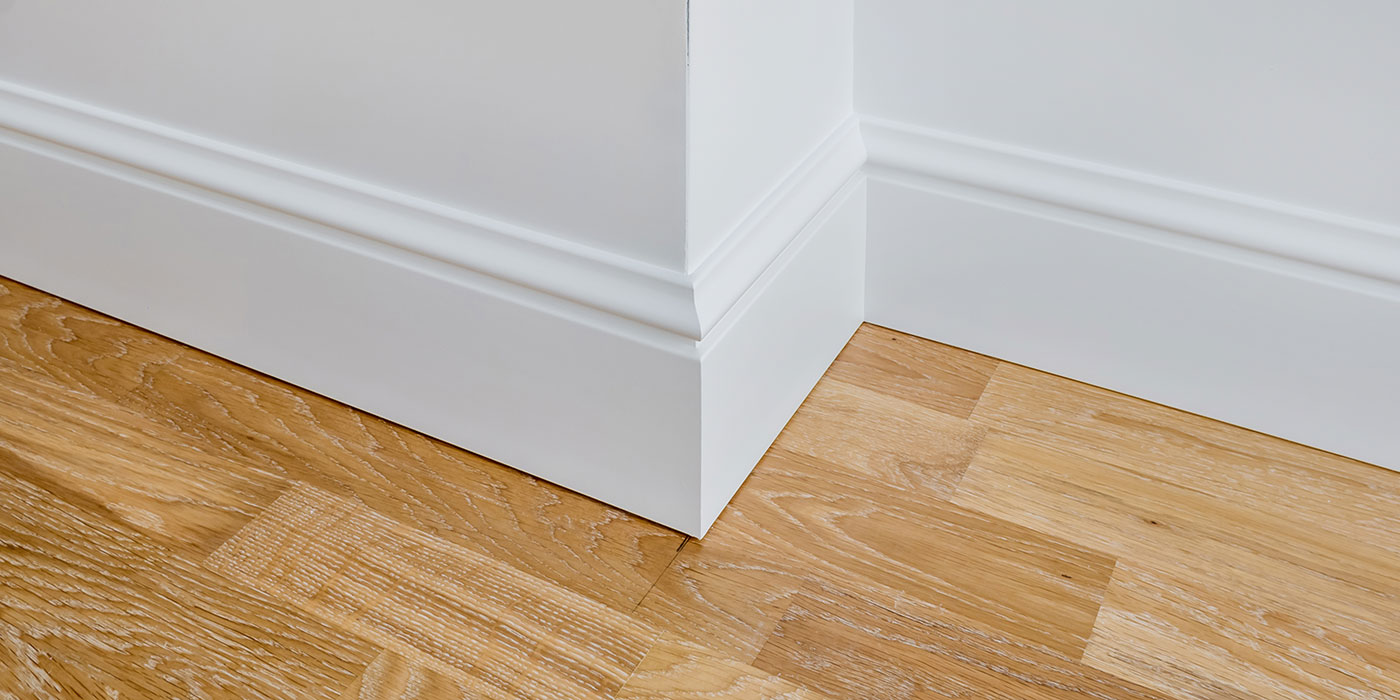
The finishing details are what make wide-plank flooring look truly professional. Installing baseboards, transitions and quarter rounds with Makita products can make all the difference.
Try out the Makita 1 HP Peak Air Compressor paired with a Makita 18-gauge Brad Nailer or 15-gauge Angled Finish Nailer to help achieve tight, secure results without visible fasteners. Clean trim work ensures the warmth and width of your flooring remains the star!
Since wide-plank installs take time, your comfort matters. Quality accessories like Task Tools kneepads or Makita’s TH3 Ultimate Knee Pad Set will protect your joints and make longer DIY sessions easier on your body, so you can focus on the accuracy of your cuts and installation!
Timber Tip
Nail baseboards and trim into studs whenever possible for extra stability, and keep a scrap piece handy to test nail depth. This helps prevent splitting and keeps your trim flush for a polished, professional look.
When done right, wide-plank flooring in warm, matte finishes can instantly modernize a home! It creates flow, reduces visual clutter and brings warmth to open-concept living. Stop by your local TIMBER MART for the right tools and expert prep tips to create a professional-looking result that feels current and will last for the long run!