A kitchen renovation doesn’t always require tearing out perfectly functional cabinets. For many Canadian homeowners, your cabinet boxes may still be structurally sound, but dated finishes, worn hardware and inconsistent colours make the entire kitchen feel older than it actually is.
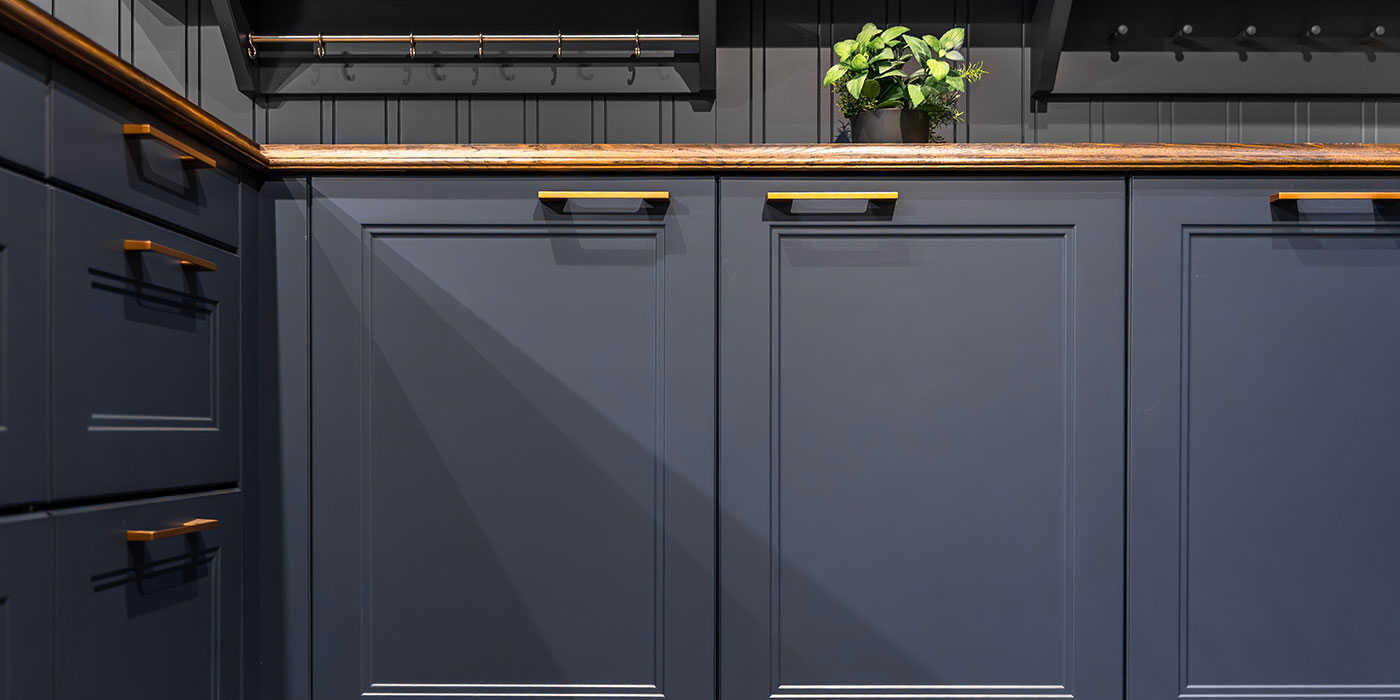
One of the biggest interior renovation trends for 2026 is high-performance coloured cabinetry with elevated hardware details that act like jewellery from the home. Rich greens, warm taupes, deep blues and sophisticated neutrals can completely transform a kitchen, while updated pulls and knobs create a custom, designer-inspired look.
The secret is that a long-lasting cabinet finish is rarely about the paint alone. Professional-looking results come from careful preparation, durable products and precise installation. Whether you’re updating a compact condo kitchen or a busy family space, here is a step-by-step approach to achieving a modern cabinet makeover that looks polished and performs beautifully for years to come.
1. Start With A Smart Assessment
Before buying paint or hardware, take a look at the existing cabinets. Solid wood, plywood and many MDF cabinet doors can be successfully refinished, while severely water-damaged or delaminating doors are usually better replaced.
Remove a door and inspect the hinges, drawer slides and cabinet frames. If the structure is sound and the doors operate properly, refinishing is often one of the most cost-effective ways to modernize the room.
This is also the time to decide on your new colour direction. Warm greige, olive green, smoky blue, and soft taupe remain popular because they feel contemporary without being overly trendy.
Timber Tip
Label every door, drawer front and hinge with painter’s tape as you remove them. Labelling each piece makes reinstallation dramatically easier and helps maintain consistent door alignment when the project is complete.
2. Strip The Gloss And Create A Paint-Ready Surface
The durability of the final finish depends heavily on the surface underneath. Old factory coatings, cooking residue and glossy finishes can prevent new paint from bonding properly, leading to peeling or premature wear.
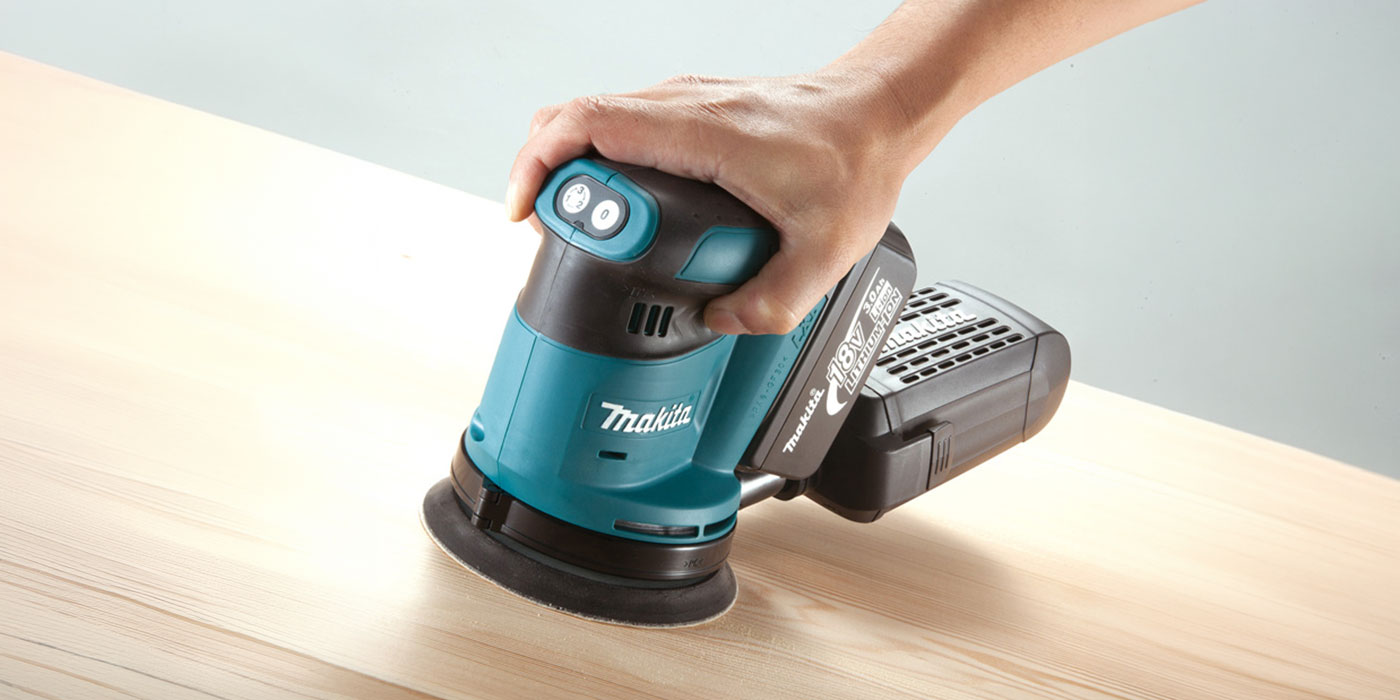
After thoroughly cleaning the cabinets with a degreasing cleaner, sand all surfaces to remove any sheen and create a uniform profile for the new coating. The Makita 18V LXT 5″ Random Orbit Sander makes this stage much faster and more consistent than hand sanding, especially on large door panels and drawer fronts.
Its random orbit action helps reduce visible sanding marks while creating an even, paint-ready surface. Pay particular attention to edges, corners and areas around handles where oils from hands tend to accumulate.
Timber Tip
Sand until the surface feels uniformly dull rather than trying to remove every trace of the old coating. Wipe away dust with a tack cloth before priming; even fine sanding residue can affect the smoothness of the final finish.
3. Prime And Paint For Everyday Durability
Kitchen cabinets are among the hardest-working surfaces in the home. They are opened dozens of times each day, exposed to moisture and temperature changes and frequently cleaned.
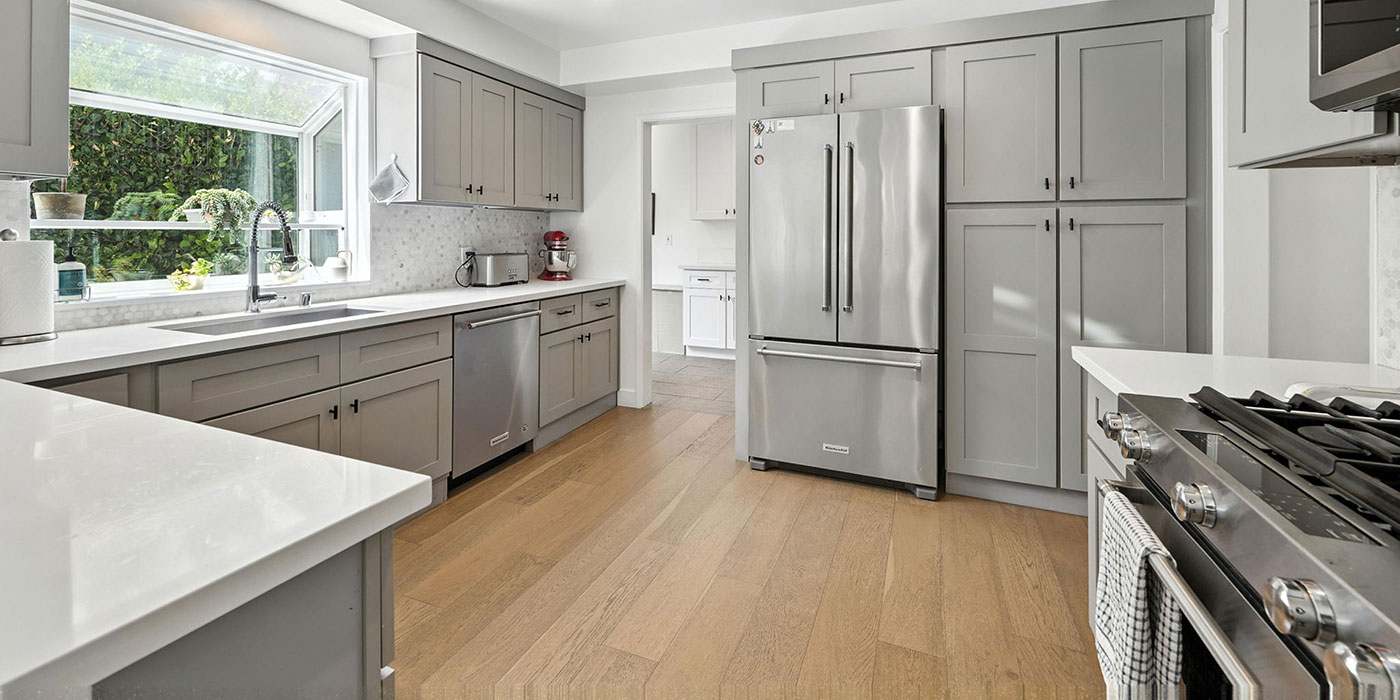
Once the sanding dust has been removed, apply a high-quality bonding primer if needed for your cabinet material. Follow with PPG Break-Through® Interior/Exterior Acrylic, a durable low-VOC coating designed for demanding surfaces. It’s excellent early-block resistance helps freshly painted doors avoid sticking together as they cure, making it especially well-suited to kitchen cabinetry.
For the smoothest appearance, apply multiple thin coats rather than one heavy coat, allowing proper drying time between coats.
Timber Tip
Set up a temporary drying station using sawhorses or scrap lumber so doors can dry flat without touching each other. Painting both sides in one session is tempting, but allowing one side to cure first will produce a cleaner, more professional finish.
4. Upgrade The Details With Designer Hardware
Fresh paint creates the foundation, but new hardware delivers the instant visual transformation most homeowners notice first. Replacing dated brass knobs or small builder-grade pulls with larger contemporary hardware can make existing cabinets feel entirely custom.
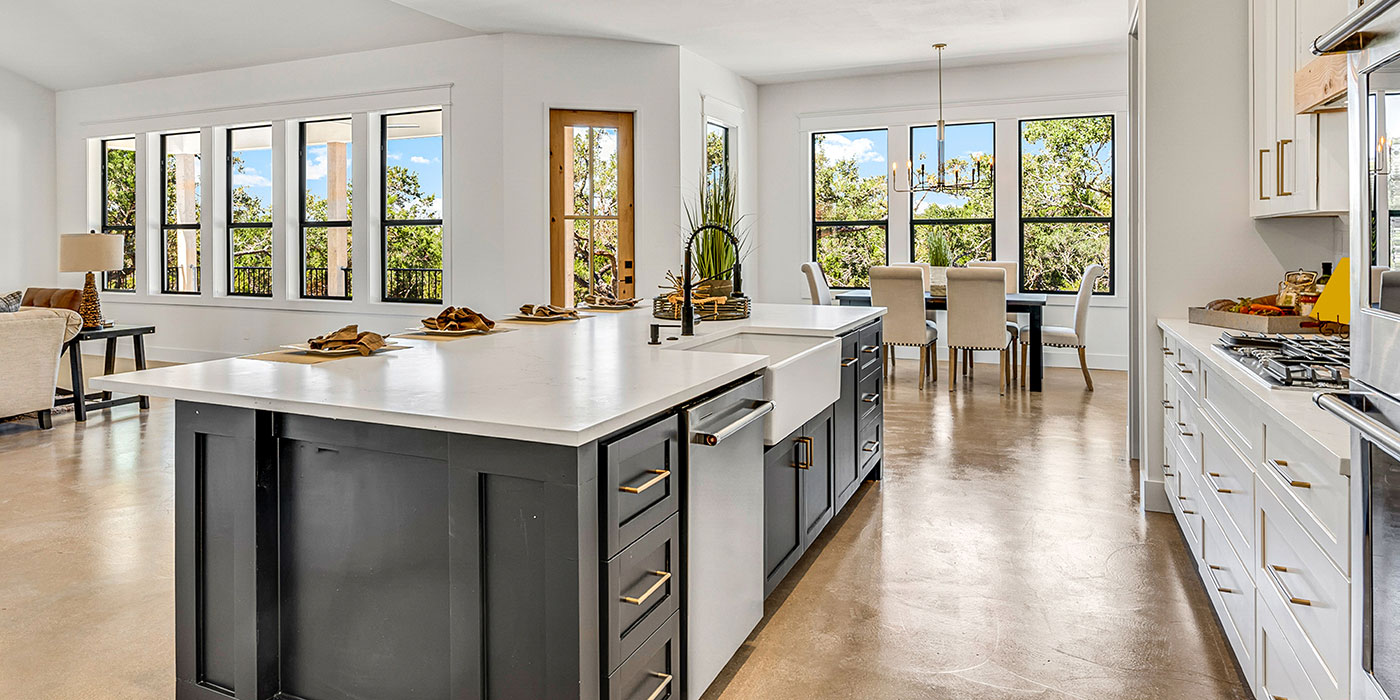
Richelieu Decorative Hardware offers a wide range of modern styles, from sleek matte black pulls to warm brushed brass and textured bronze finishes. Larger pulls often look especially striking on drawers and pantry doors, while streamlined knobs can keep upper cabinets feeling lighter.
Before drilling new holes, tape a hardware template in place and test the grip and visual scale from a standing position.
Timber Tip
If you’re changing hole spacing, fill old hardware holes with a durable wood filler, sand smooth after it cures and prime those areas before painting. Measure every door individually rather than assuming factory spacing is perfectly consistent.
5. Install Hardware With Precision
Crooked hardware can undermine an otherwise beautiful cabinet refresh, so take time during installation. The Makita 18V LXT Brushless 1/2″ Drill-Driver provides the control needed for accurate drilling and screw installation without overdriving fasteners.
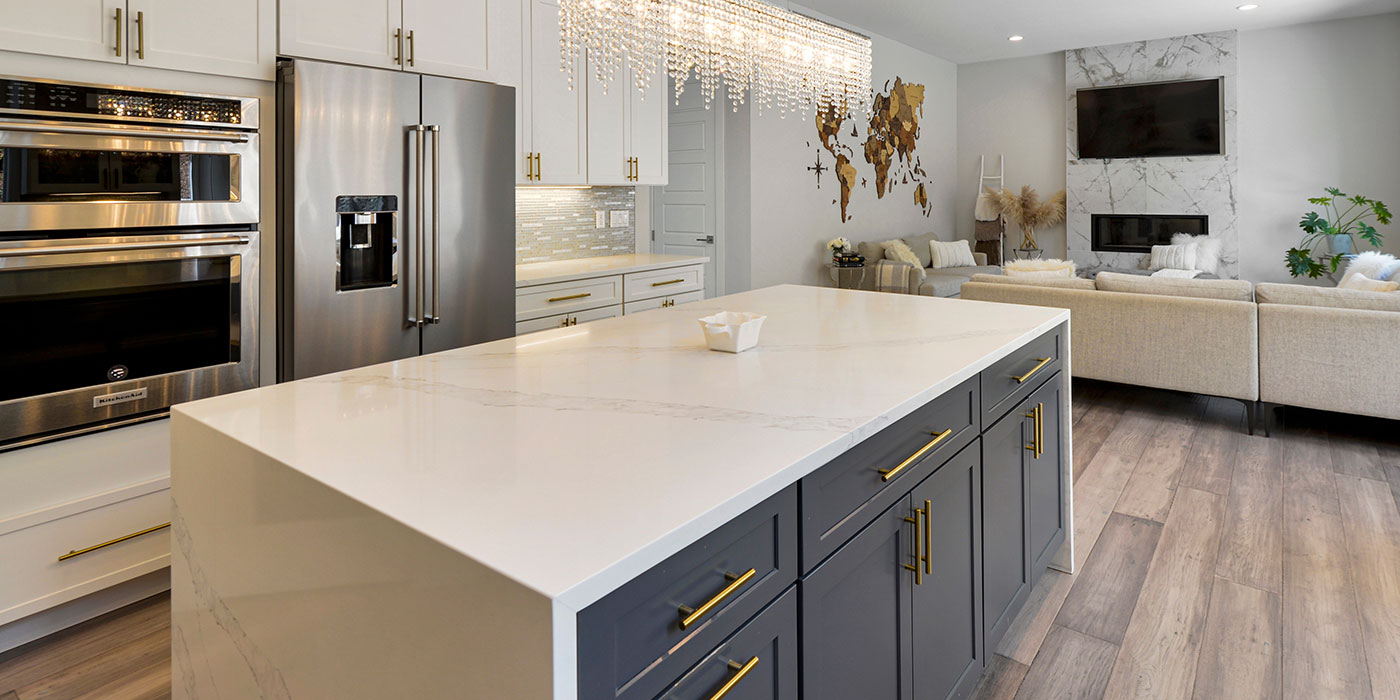
Use a cabinet hardware jig or a carefully measured template to keep pulls perfectly aligned across all doors and drawers. Consistent placement creates the crisp, intentional look associated with professional cabinetry installations.
Timber Tip
Drill from the front face of the door whenever possible and support the back with a scrap block to reduce tear-out. Tighten screws firmly, but stop as soon as the hardware sits snugly against the surface to avoid damaging freshly painted doors.
6. Mixing Metals Like A Designer
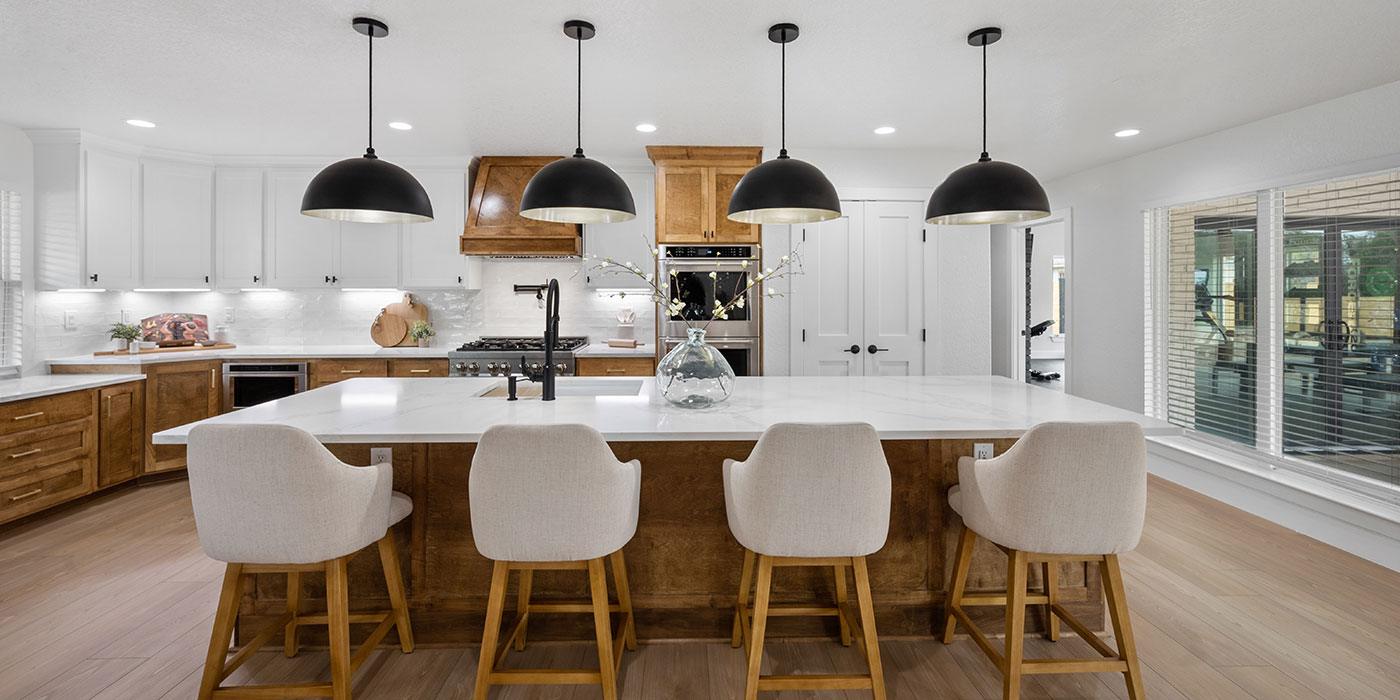
One of the biggest misconceptions in kitchen design is that every metal finish must match. In today’s open-concept homes, thoughtfully mixed metals often create a richer, more curated appearance than a single finish repeated everywhere.
A successful mix starts with one dominant finish and one secondary accent. For example, a kitchen can feature the Moen Adler Pulldown Faucet with MotionSense Wave at the sink while introducing contrasting Richelieu Decorative Hardware on the island cabinetry. The difference in finish adds depth and visual interest without feeling random.
The key is repetition. If the island hardware is brushed brass, repeat that finish in a nearby pendant light, bar stool detail or decorative accessory so the accent feels intentional.
Timber Tip
Keep the dominant finish on the largest visual element, such as the faucet and main cabinet hardware, and use the accent finish on smaller features. This creates contrast while maintaining a balanced overall palette.
7. Extend The Metal Palette Into Adjoining Spaces
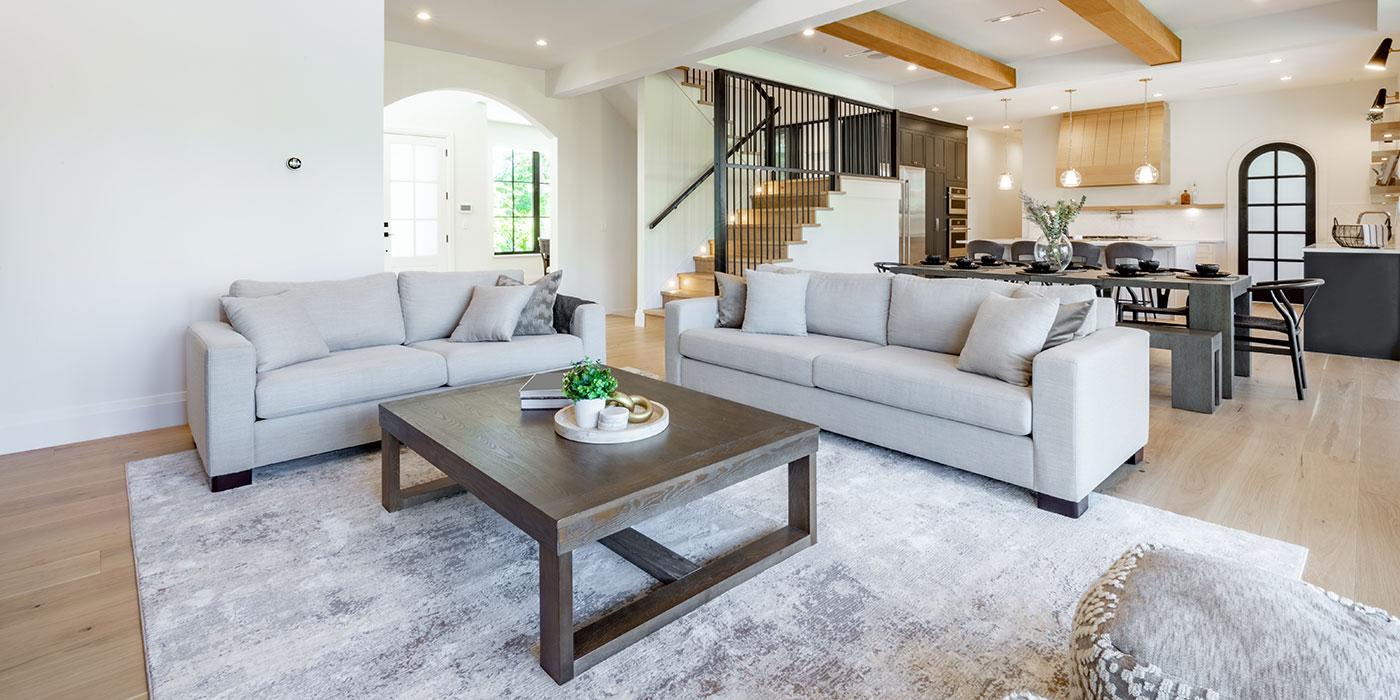
Open-concept layouts allow the kitchen to flow directly into dining and living areas, so metal choices should be considered throughout the space. Rather than matching every fixture, think of the finishes as a coordinated collection.
A matte black kitchen faucet can connect beautifully with black window frames or lighting, while brushed brass cabinet pulls can echo a dining chandelier or coffee table detail. This layered approach feels more sophisticated and less showroom-like.
When installing new fixtures throughout connected spaces, the Makita 18V LXT Brushless 1/2″ Drill-Driver also helps simplify mounting hardware, cabinet pulls and decorative accessories with consistent precision.
Timber Tip
Step back and view the kitchen from the adjoining living area before finalizing finishes. Metals that feel subtle up close can become much more prominent when seen across an open-concept space.
A cabinet refresh can dramatically transform a kitchen without changing its layout. With proper preparation, a durable cabinet coating, updated hardware and a thoughtfully layered metal palette, homeowners can achieve a high-end look while reusing their existing cabinetry.
The best results combine style with long-term performance. Smooth surfaces, resilient paint and precise hardware installation work together to create a kitchen that feels fresh, functional and intentionally designed.
Your local TIMBER MART team can help you choose the right tools, coatings and hardware to complete your kitchen refresh with confidence.