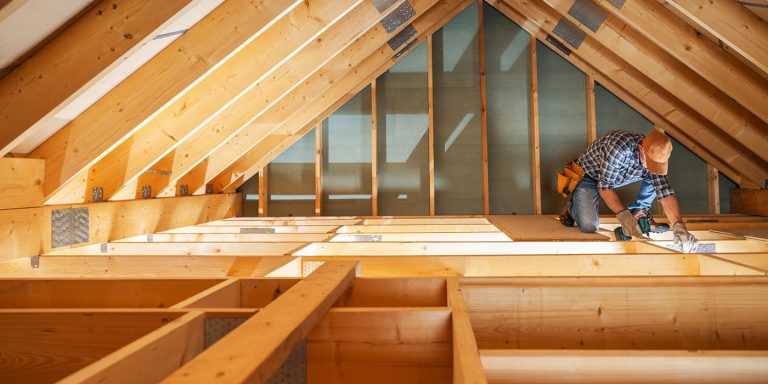
Not every backyard starts out feeling private, peaceful or put together. But with a few intentional additions, you can transform even an open, exposed space into something that feels like a retreat!
The key is combining structure, privacy and natural elements to create a space that feels enclosed in the best way. From slatted screens to pergolas, here’s how to design a backyard that feels calm, comfortable and completely your own.
1. Build Privacy That Still Feels Open
Privacy doesn’t simply mean just closing yourself off completely. Horizontal or vertical slatted screens are among the most effective ways to create separation while allowing light and airflow. Around a hot tub, spa pool (“spool”) or plunge pool, these screens can help define the space and block sightlines, without making the area feel boxed in.
Precision matters with these screens, so keep your cuts clean and consistent! That’s ultimately what will give it a high-end, architectural feel. The Makita 18V LXT 6-1/2″ Circular Saw makes it easy to cut cedar or other types of wood, accurately and efficiently, helping you maintain even spacing and a polished finish.
To keep everything secure long-term, PWR Drive Evo Dual Action Premium Construction Screws use a dual-thread design that creates a strong clamping effect, helping hold each slat firmly in place with less movement over time.
Timber Tip
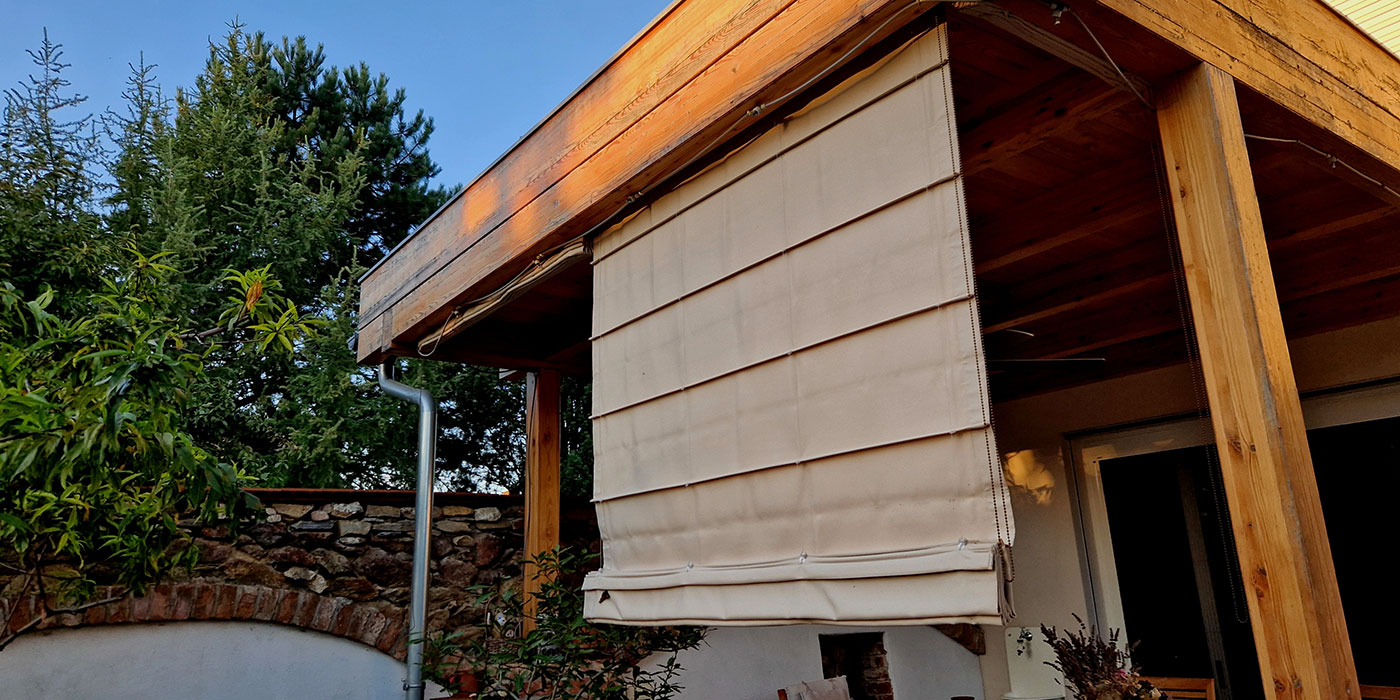
This work on horizontal or vertical slatted screens can be made easier with a spacer block (¾”–1”) for every board! Fasten each slat at consistent heights on both ends to prevent creeping misalignment.
Snap a chalk line or mark reference points on posts before you start so each row stays perfectly level, as small variances at the beginning can quickly compound and throw off the entire screen.
2. Seal For Sun, Moisture and Longevity
Backyard retreats, especially those near water, are exposed to constant moisture and sunlight. Without proper protection, wood can quickly fade, crack or absorb water, all of which shorten its lifespan.
That’s why finishing is just as important as the build itself. Applying a protective stain like Olympic Maximum Wood Stain helps seal the wood against moisture while also protecting it from UV exposure. It also enhances the natural grain, adding warmth and depth that complements a more organic, nature-inspired design. This step ensures your privacy screen doesn’t just look great, but also holds up through seasons of use.
Timber Tip
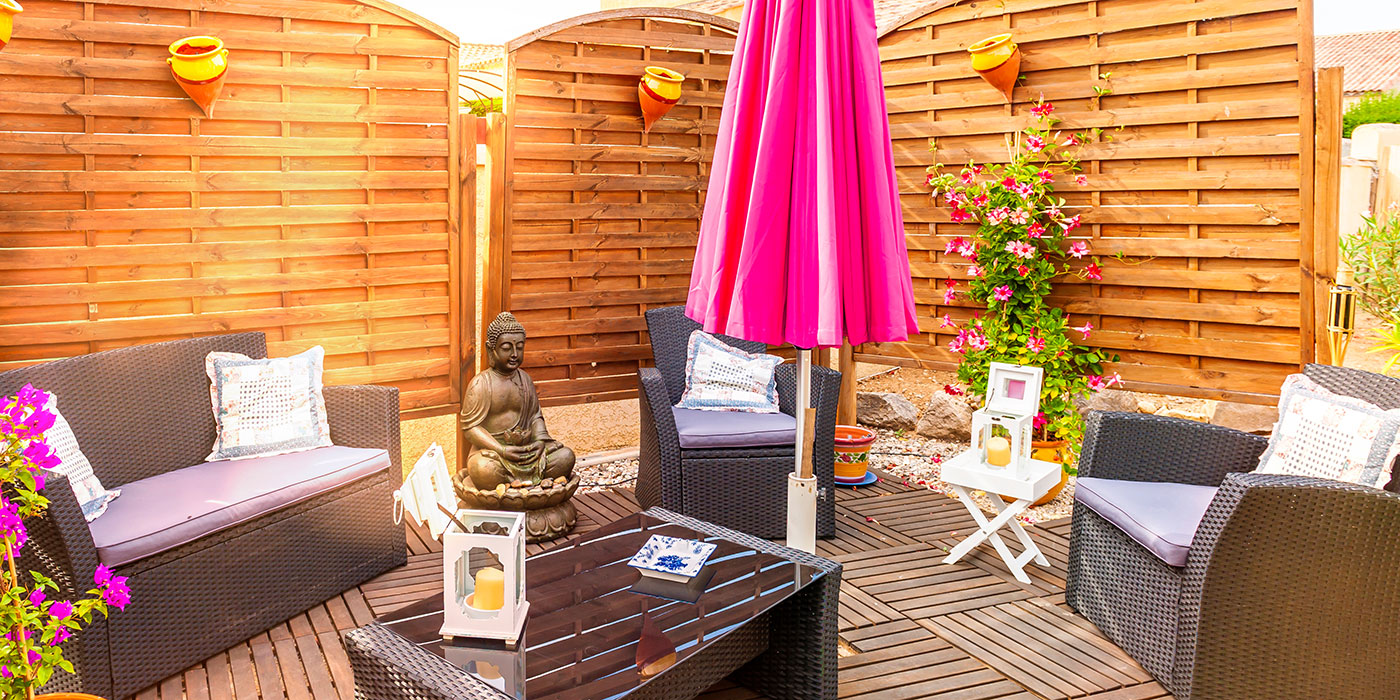
Pre-finish each board on all sides, including cut ends and inside edges, before installation. Use a brush to work the stain into the end grain, where moisture is absorbed fastest.
And remember: letting the boards fully dry is critical before you begin fastening. This ensures you avoid missed spots and ensure consistent coverage in tight gaps once installed.
3. Layer in Natural Elements
Privacy screens set a great foundation, but it’s the surrounding elements that bring the space to life. Have you heard of the term “bibliophilic design”? This design style is all about connecting the space to nature. Think climbing greenery woven through slats, natural wood tones, stone accents or layered landscaping that softens edges and creates a more immersive environment.
Around a plunge pool, “spool” or hot tub, this approach can help the space feel less like a backyard feature and more like a secluded escape. The goal isn’t perfection, but rather about creating a space that feels organic, calming and lived-in.
Timber Tip
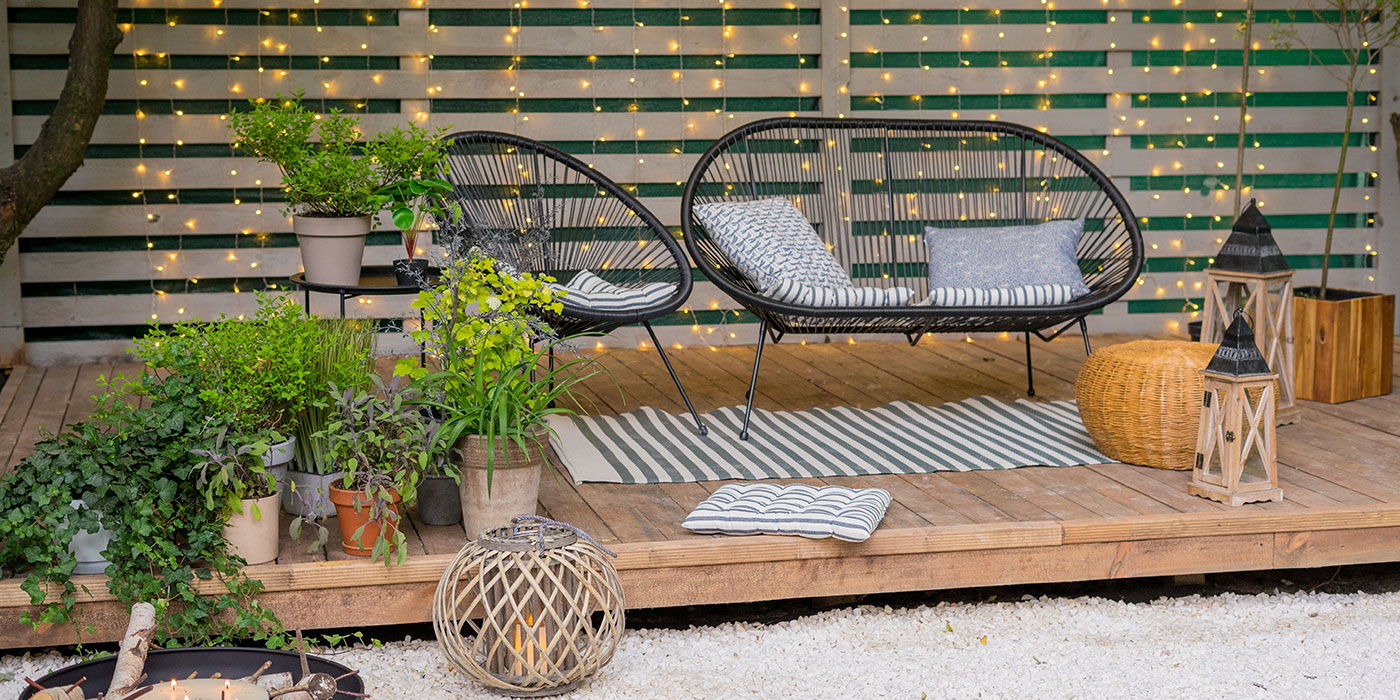
For some ideas on how to layer your plants intentionally: use low ground cover at the base, waist-height planters along the screen and climbing vines or trellised greenery to draw the eye upward.
This type of layering creates a more immersive, natural feel while helping soften straight lines and adding privacy where you need it most.
4. Add Structure with a Pergola
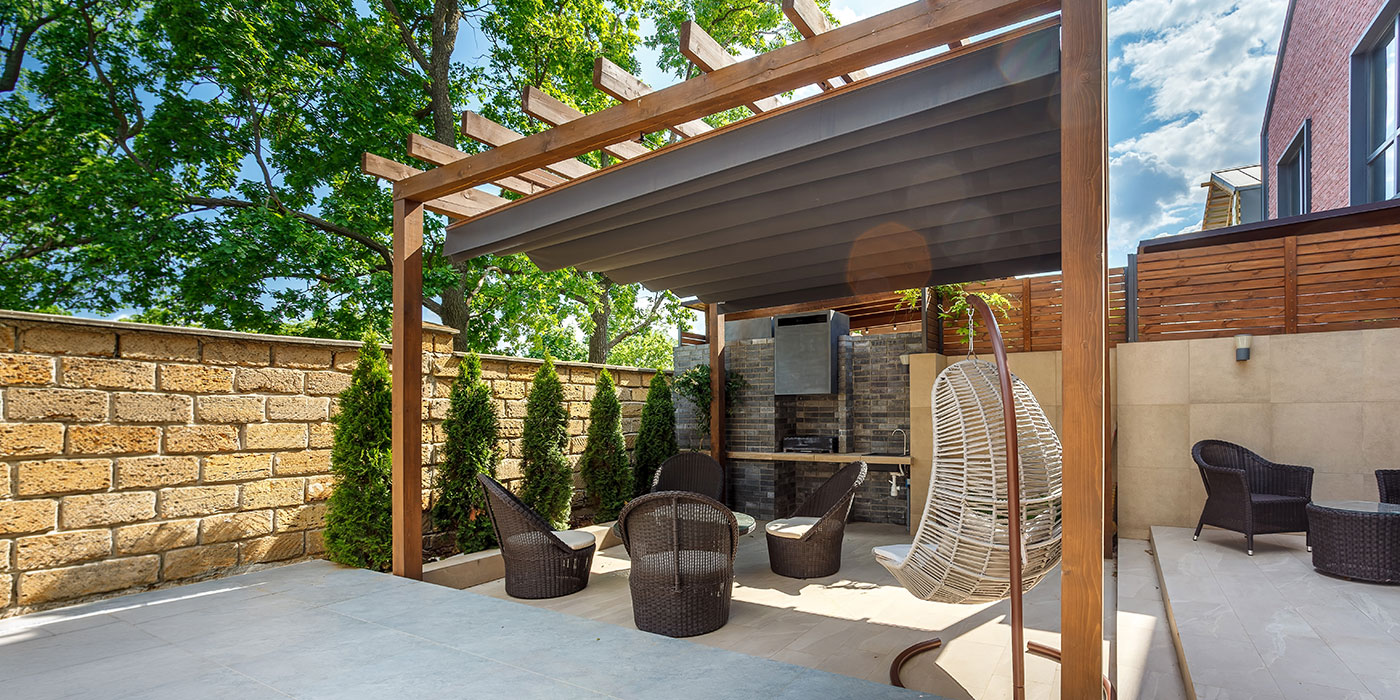
If your yard lacks natural shade, structure is the next best thing. A pergola is what takes your space to that next level! It instantly defines space, adds height and creates a focal point. You could add one over a dining area, a lounge zone or adjacent to our privacy screen.
A pergola also provides the framework for lighting, shade elements or climbing plants. For DIYers, the Simpson Strong-Tie Outdoor Accents Pergola Kit simplifies the process. Its structural hardware system is designed to help you build a pergola that’s strong, stable and visually refined, without needing advanced carpentry skills. The result is a feature that feels architectural and intentional.
Timber Tip
Plan your pergola placement with overhead clearance in mind. Keep enough height (typically 7-9 feet) to feel open and airy. You should also consider the sun’s angle to position beams and rafters so they cast the most effective shade throughout the day.
The most effective backyard retreats feel connected, not piecemeal elements! By repeating materials, aligning finishes and balancing structure with natural elements, you create a space that flows. Your privacy screen, pergola and surrounding landscaping should work together to define zones while maintaining a consistent look and feel.
For help with this cohesion, get in touch with your local TIMBER MART team, who can help you select the products and materials to create your ultimate backyard retreat!