
The kitchen takes a lot of wear and tear before it gets to the end of the year. Between everyday cooking, holiday entertaining and years of opening and closing doors and drawers, even well-built cabinets can start to show their age. But a tired-looking kitchen doesn’t necessarily call for a full renovation. A focused weekend refresh can make a surprisingly big difference.
This season, the idea of kitchen resilience as a design trend is all about making the most of what you already have. Instead of replacing sound cabinetry, homeowners are inspecting, repairing, realigning and refinishing existing pieces to extend their life while giving the room a fresh new look.
The key is to tackle the areas that need attention most. From checking the often-overlooked cabinet under the sink to tightening loose hinges and refreshing cabinet doors and walls, here’s how to give your kitchen a practical face-lift before your next gathering.
1. Start With A Cabinet Check
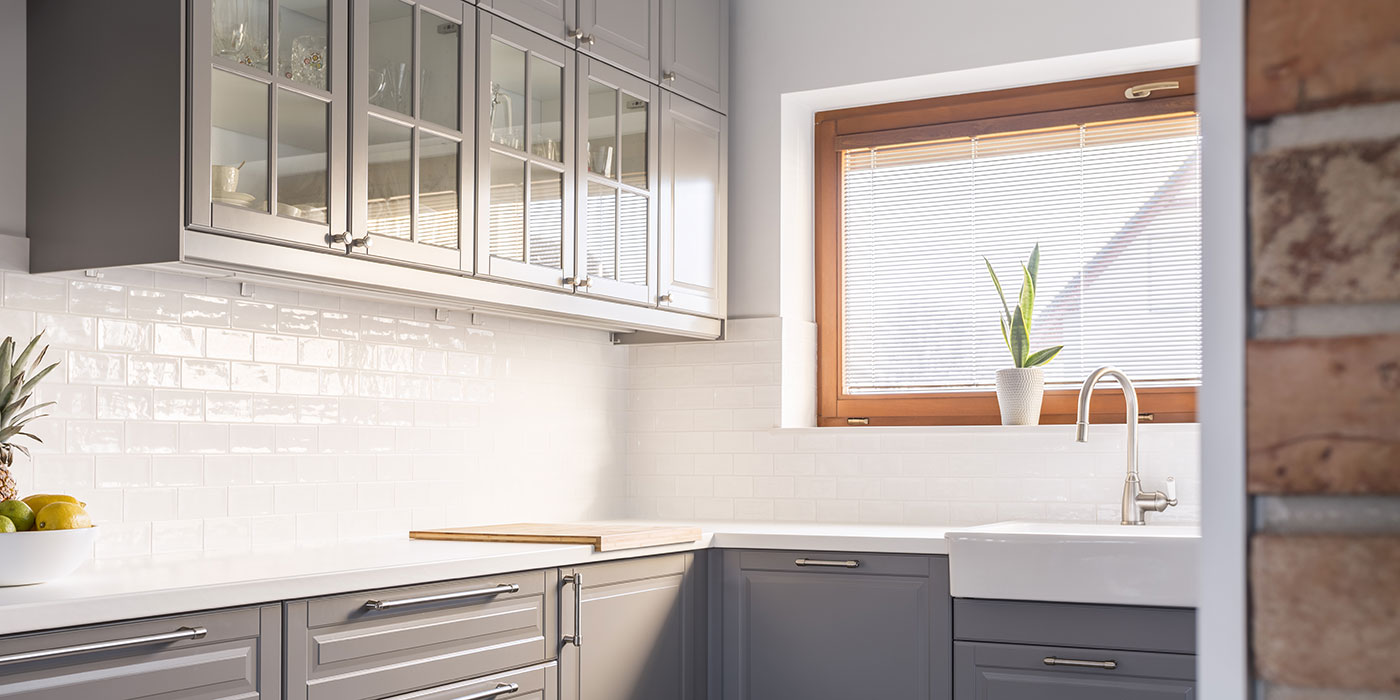
Before reaching for the paint, inspect your cabinets from top to bottom. Pay particular attention to the cabinet beneath the sink, where small plumbing leaks can cause swelling, draining or deterioration that may not be immediately obvious.
Check around plumbing connections and along the cabinet floor and sides for signs of moisture damage. Also look for loose joints, cracked finishes, damaged surfaces and doors or drawers that no longer sit squarely.
If you find active moisture, address the source before doing any cosmetic work. There’s no point refinishing a cabinet if an underlying plumbing problem is going to damage it again.
Timber Tip
Place a dry paper towel beneath plumbing connections for a quick leak check. Even a small drip can leave evidence on the towel before a leak becomes obvious elsewhere.
2. Realign Doors and Tighten Hardware
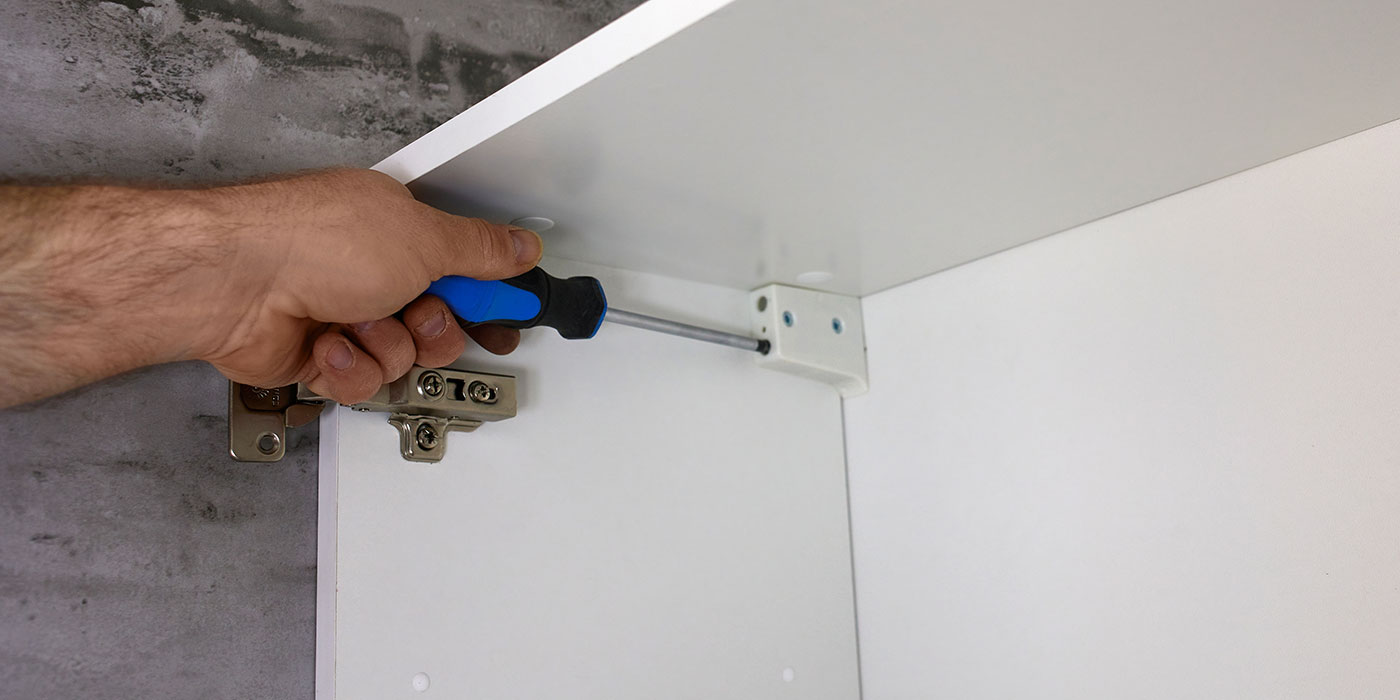
Sagging cabinet doors can make an entire kitchen look worn, even when the cabinetry itself is in good condition. Fortunately, many alignment issues can be corrected with a screwdriver or drill and a little patience!
The Makita 1/2″ Drill makes quick work of removing cabinet hardware and tightening loose hinge screws. Remove handles and knobs before refinishing, and use the opportunity to inspect hinge plates and mounting points for loose or damaged screws.
Once everything is secure, adjust the hinges so the doors sit evenly and close properly. Make small adjustments and check your progress frequently rather than trying to correct the alignment all at once.
Timber Tip
Before removing all the doors and cabinets, label them with painter’s tape and a simple number system. This makes reassembly much easier, especially when doors look similar but have slightly different hinge positions.
3. Prep and Refinish the Cabinet Doors
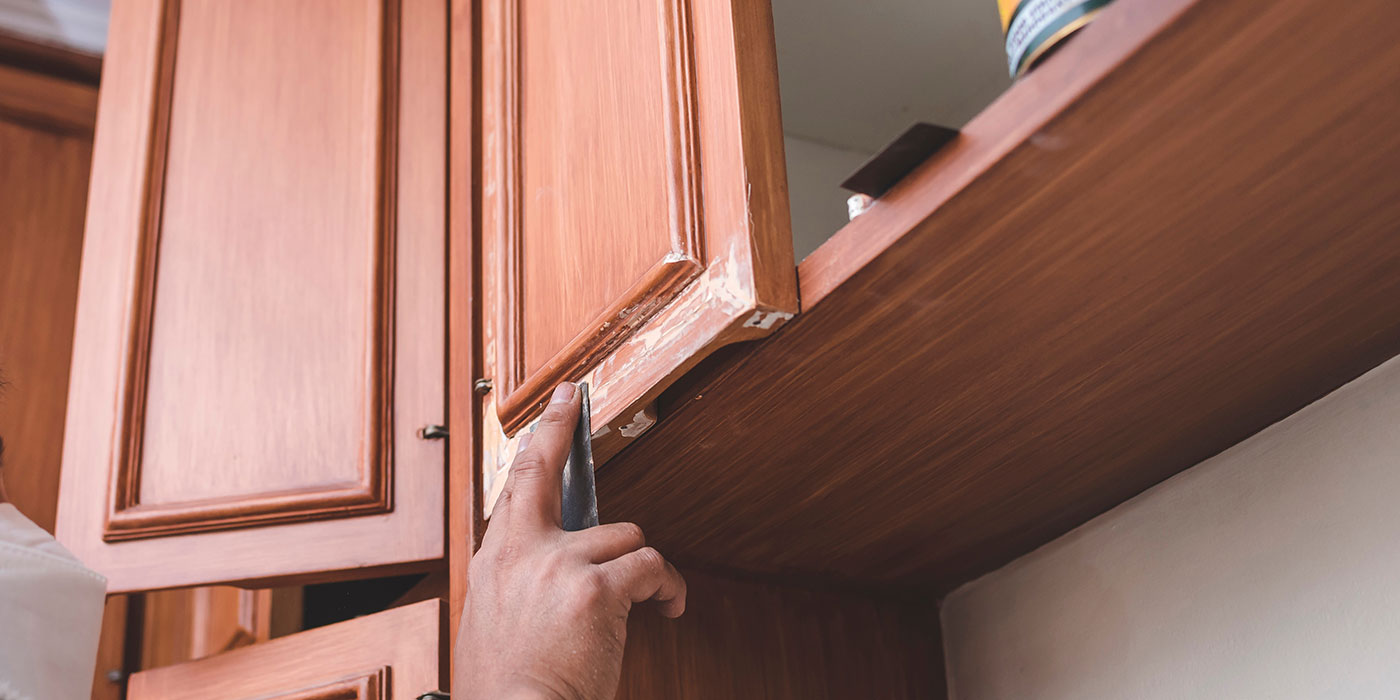
Once repairs are complete, give your cabinet doors a thorough cleaning to remove grease, dust and cooking residue. Sand the existing surface as needed to create a clean, consistent substrate for your new finish.
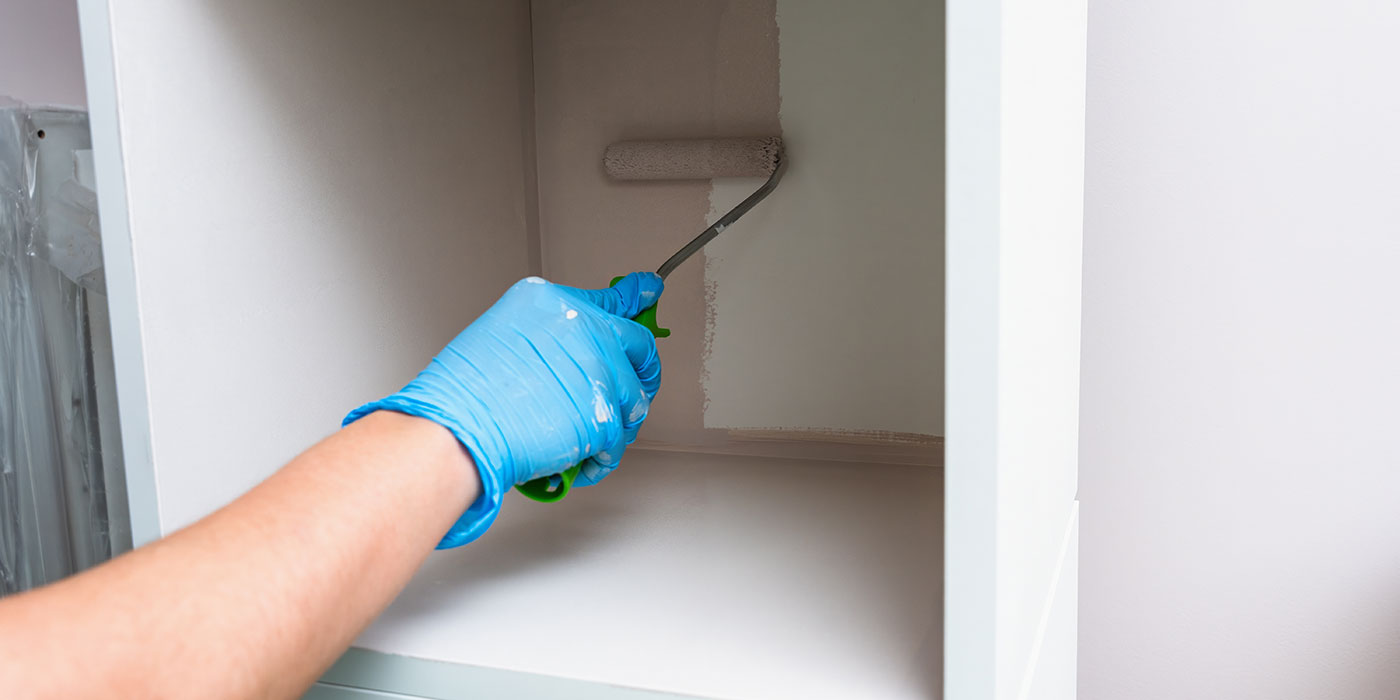
For a dramatic update, SICO Furniture & Cabinets is designed for furniture and cabinetry projects, providing a durable finish that can give tired doors a refresh and a factory-inspired appearance. A deeper, richer colour can make a particularly effective statement in the kitchen while complementing existing countertops, flooring and hardware.
Apply your finish according to the product instructions, allowing appropriate drying and curing time between coats. Resist the temptation to rush this stage: the quality of the preparation will show in the finished result.
Timber Tip
Paint a sample on one cabinet door or an inconspicuous area first. Check the colour at different times of day to see how it works with your kitchen’s natural and artificial lighting.
4. Give High-Traffic Walls A Quick Refresh
Cabinets aren’t the only surfaces that take a beating. Kitchen walls can collect scuffs, splashes and small dents, particularly around work areas and high-traffic zones. Before hosting, walk around the room and identify the little imperfections that have accumulated over the summer.
Fill small drywall dings and imperfections with the appropriate patching compound, allow them to dry, then sand the repairs smooth. Clean the walls before painting so dust and kitchen residue don’t interfere with your new finish.
For areas that need to stand up to frequent cleaning, SICO Kitchen & Bath provides a durable option designed for demanding kitchen and bathroom environments. A fresh coat can help unify the room while creating a surface that is easier to maintain after busy holiday cooking and entertaining.
Timber Tip
Don’t just paint around damaged areas. Patch, sand, and prime repairs where required so they don’t show through the new finish.
5. Assemble and Enjoy The Transformation
Once your cabinet finish has properly cured, reinstall the doors, drawers and hardware. Take the time to check that each door opens smoothly, sits squarely and closes without rubbing against neighbouring cabinets.
Finally, step back and look at the whole space. A weekend spent addressing moisture risks, tightening hardware, refreshing cabinetry and repairing walls can make the kitchen feel dramatically newer and better prepared for the traffic that comes with holiday hosting.
Keep the small amount of your wall and cabinet coatings stored according to the manufacturer’s recommendations. Having touch-up material on hand makes it easier to deal with future scuffs and everyday wear.
Timber Tip
A kitchen cabinet face-lift doesn’t have to mean tearing everything out. With a careful inspection, a few targeted repairs and durable new finishes, you can extend the life of your existing cabinetry while creating a space that feels fresh, welcoming and ready for whatever the season brings.
Your local TIMBER MART can help you find the tools, coatings, hardware and project supplies you need to give your kitchen its next great look!