
Your bathroom may be your home’s ultimate palace to relax, but all that hot water and steam can create a challenging environment for walls, grout, tile and cabinetry, especially during a Canadian winter when windows stay closed and ventilation becomes even more important.
Keeping your bathroom looking fresh isn’t just about choosing the right colours or finishes or chasing trends, it’s about longevity. Regularly checking grout, repairing cracked tiles and controlling moisture can help prevent small problems from turning into costly repairs, while the right paint can give your walls a clean, durable finish.
If your bathroom is ready for a winter refresh, this guide covers six practical ways to protect your space from moisture while giving your bathroom a polished, spa-like feel.
1. Start With A Moisture and Grout Inspection
Begin your bathroom refresh by looking closely at the areas that experience the most water exposure. Pay particular attention to shower corners, the perimeter of the tub, grout joints and transitions between different materials.
Cracked, missing or crumbling grout deserves attention because it can allow water to move behind the finished surface. Grout itself isn’t the primary waterproofing layer in a properly constructed shower; the underlying waterproofing system is what protects the wall and structure. However, damaged grout and failed sealant can allow moisture to reach areas where it can cause problems, particularly if the waterproofing behind the tile is already compromised.
Also inspect painted drywall outside the immediate shower area for bubbling, staining, soft spots or persistent discolouration. These can indicate that moisture is getting into the wall rather than simply remaining on the surface.
Timber Tip
Don’t wait for visible mold or major water damage before investigating. If grout is cracked, caulking has separated or drywall feels soft, find the source of the moisture before simply covering the affected area with fresh paint or new grout.
2. Repair Cracked Tile Before Water Gets Behind It
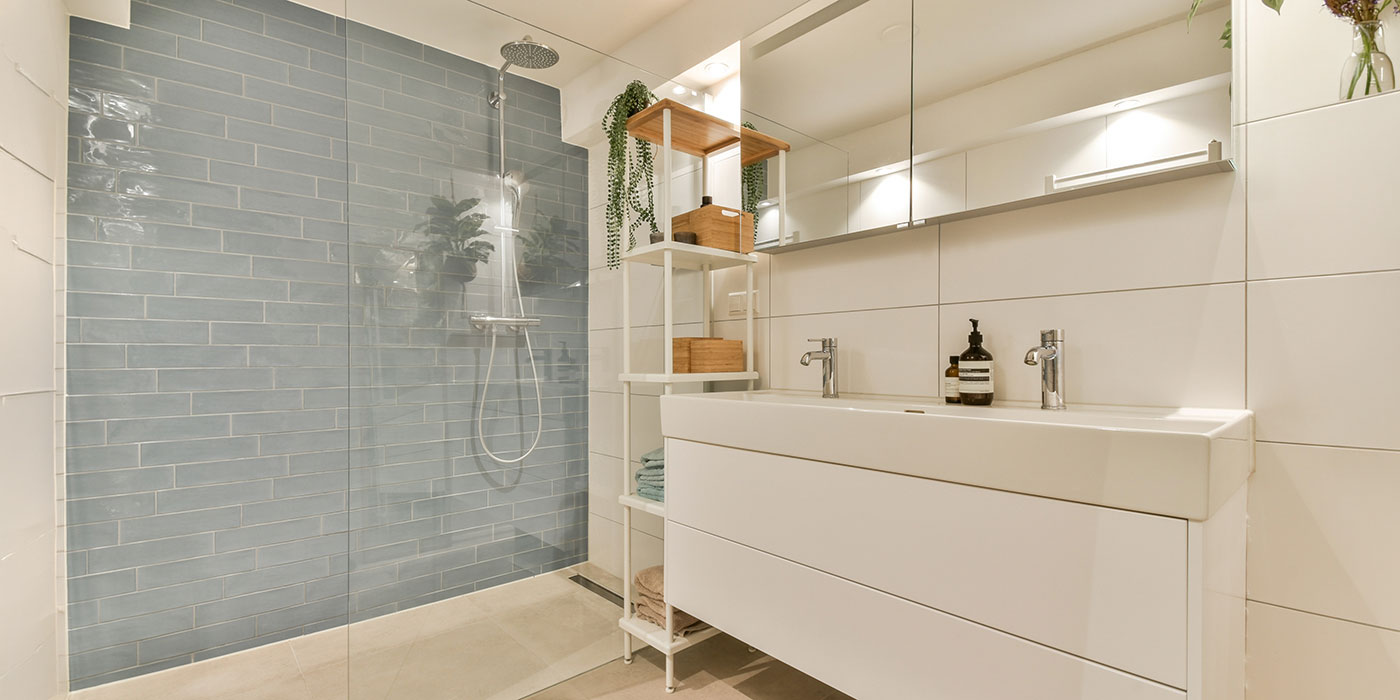
A cracked tile isn’t just a cosmetic issue. It can create an opening for moisture to reach the setting materials and substrate underneath, especially when combined with damaged grout or failed waterproofing.
For a single damaged tile, begin by removing the grout around it so the surrounding tiles aren’t damaged during removal. Carefully break the damaged tile into manageable pieces and remove them from the centre outward. Once the tile is out, remove remaining adhesive or mortar as appropriate and inspect the substrate.
This inspection of the foundation is an important part of the repair. If the substrate is wet, damaged or shows signs of mold, don’t simply install a replacement tile over it. The underlying problem needs to be addressed first. If the waterproofing layer in a shower has been compromised, a simple tile replacement may not be sufficient.
Timber Tip
Before buying a replacement tile, measure its thickness as well as its length and width. The replacement needs to sit flush with the surrounding surface, and the existing substrate must be sound and suitable for new installation.
3. Make Precision Cuts With The Right Tool
Replacing a tile often involves more precision than simply removing the damaged piece. If a replacement tile needs to be cut to fit around an edge, corner or fixture, accurate cuts will make the finished repair much less noticeable.
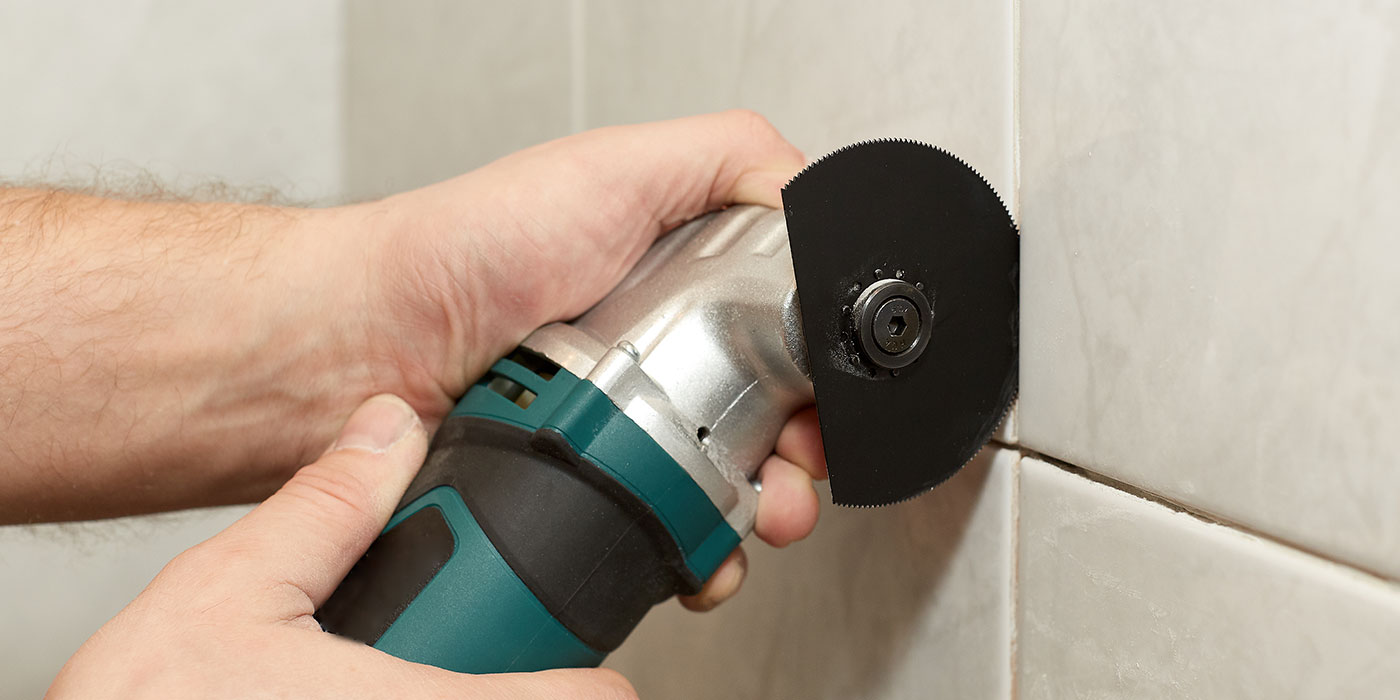
The Makita 4-1/2″ Cordless Angle Grinder can be useful for scoring and cutting ceramic tile, as well as carefully removing stubborn grout. Its compact format makes it well suited to detailed workshop and renovation tasks where controlled cuts are required.
Because grinding and cutting tile can generate significant dust and debris, use the appropriate eye and respiratory protection and follow the tool’s manufacturer’s safety instructions. For grout removal, take care not to cut into the surrounding tile or underlying waterproofing. A dedicated grout-removal accessory or tool can also be preferable when the goal is simply to clear the joint.
Once the damaged tile has been removed and the substrate is ready, install the replacement using an appropriate tile adhesive or mortar for the specific tile and location. Allow it to cure according to the manufacturer’s instructions before grouting the joints.
Timber Tip
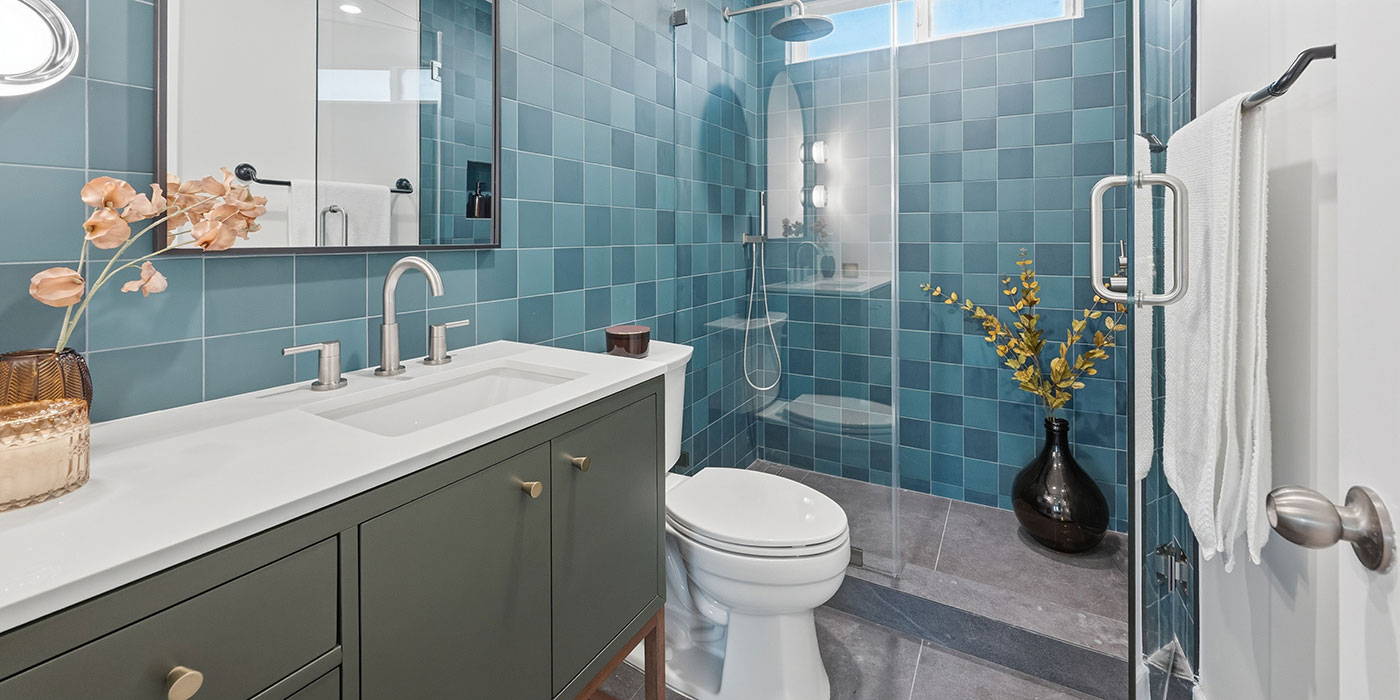
Dry-fit your replacement tile before applying adhesive. Check the orientation, spacing and finished height first. It’s much easier to correct a fit when the tile is still sitting loose than after it’s been installed.
4. Restore The Surface With A Moisture-Ready Finish
Once tile and grout repairs are complete, turn your attention to the painted surfaces. Bathrooms can experience repeated cycles of humidity and drying, so the right coating can make a noticeable difference to both appearance and maintenance.
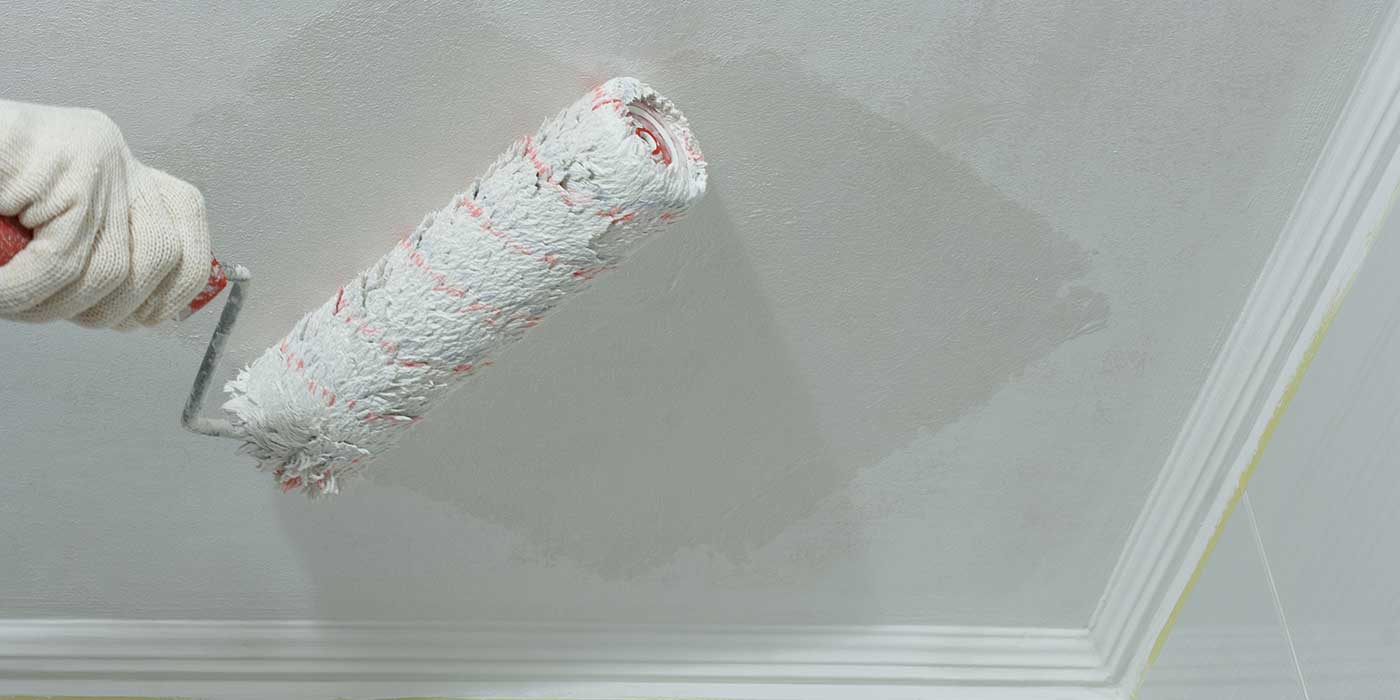
SICO Specialty Kitchen & Bath is designed for moisture-prone areas, with a self-priming, mildew-resistant formula that provides a durable finish for bathroom ceilings and walls. It can be particularly useful when refreshing surfaces that have become tired or marked over time.
Preparation still matters. Clean the surface thoroughly, allow it to dry and repair imperfections before painting. Any existing mold or moisture problem should be dealt with at the source rather than simply painted over. Good ventilation and proper surface preparation will help your new finish perform as intended.
Timber Tip
Pay attention to the area immediately outside the shower or tub. These walls and ceilings may not be directly exposed to running water, but repeated humidity and condensation can still make them high-risk areas for peeling or surface deterioration.
5. Improve Ventilation Before Winter Humidity Takes Over
A fresh coat of paint can transform a bathroom, but managing moisture is what helps protect that finish, and the room behind it, over the long term.
Make sure your bathroom exhaust fan is actually moving air effectively. Clean the grille and surrounding area, and use the fan during showers and for a period afterward to help remove lingering humidity. If condensation routinely remains on mirrors, windows or painted surfaces long after a shower, it’s worth investigating whether the existing ventilation is adequate.
Good ventilation is particularly important in winter, when opening a window may not be practical. Reducing the amount of moisture that remains in the room can help limit condensation and reduce the stress placed on painted surfaces, grout and other finishes.

Timber Tip
Make ventilation part of your daily bathroom routine rather than treating it as seasonal maintenance. Running the exhaust fan during and after a shower is one of the simplest ways to reduce the amount of moisture lingering in the room.
6. Give Your Vanity Light A Modern Finish
With the major moisture-control work complete, finish the refresh with a small design upgrade. Vanity lighting is often overlooked, but an outdated fixture can make an otherwise updated bathroom feel stuck in another era.
If the existing fixture is in good working condition and suitable for the space, refinishing its removable metal components can be an economical alternative to replacing the entire fixture. Rust-Oleum Painter’s Touch 2x Ultra Cover 5-in-1 Spray Paint can help modernize suitable surfaces, with the spray system offering different output settings for greater control.
The vertical fan setting can be particularly useful when coating appropriately prepared vertical surfaces, helping you apply the product with greater control. Remove the components you intend to refinish, clean and prepare them according to the product instructions, and apply light, even coats rather than trying to achieve complete coverage in one pass.
Always disconnect electrical fixtures safely before removing components, and only refinish parts that are appropriate for the product and application. If you’re unsure about electrical work, leave fixture removal or wiring to a qualified professional.

Timber Tip
Don’t spray a fixture while it’s installed or connected to power. Remove only the components that are designed to be removed, and follow both the paint manufacturer’s instructions and the light fixtures manufacturer’s guidance for refreshing and reassembly.
A moisture-proofed bathroom sanctuary comes down to one thing: treating moisture as a system rather than a surface problem. Repair damage properly, make sure the substrate and waterproofing are sound where required, control humidity and choose finishes designed for the environment.
Your local TIMBER MART can help you find the tools, tile materials, coatings and supplies you need to give your bathroom a durable, polished refresh.