
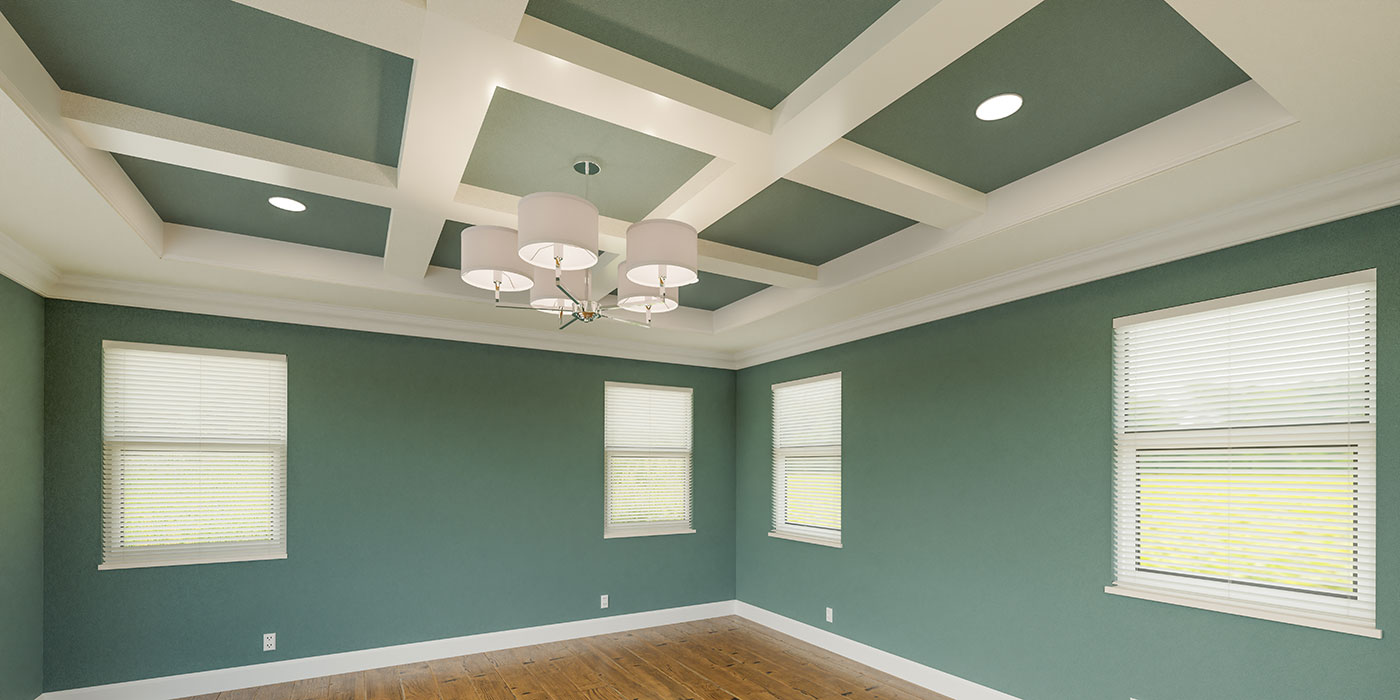
Colour-drenching is one of the easiest ways to make a living room feel immersive, sophisticated and intentionally designed. By painting the walls, trim and ceiling in the same colour or closely related shades, Canadian homeowners can create a seamless envelope that makes the entire room feel more cohesive.
There is a catch: when everything is painted the same colour, imperfections become much more noticeable. Dents, nail holes, uneven patches and rough transitions can stand out against an otherwise uninterrupted surface.
The secret to making a colour-drenched living room look high-end is not simply choosing a bold paint colour. It is creating a flawless surface first, then applying a rich durable finish that allows the colour to take centre stage. Here is how to bring this interior trend to life and give your living room a polished reset, all the way through to the final coat.
Start With A Colour That Sets The Mood
Colour-drenching works particularly well with shades that create a sense of warmth and depth. Earthy greens, muted olive, warm taupes, clay-inspired tones and soft neutrals can bring a natural, calming quality to the living room while still making a strong design statement.
Rather than treating the ceiling and trim as separate elements, carry the colour throughout the entire room. Painting baseboards, door trim and even the ceiling in the same colour reduces visual breaks and allows architectural details to blend into the overall design.
This approach is particularly effective in rooms with interesting mouldings, built-ins or architectural features. Instead of competing with those details, a single colour can make the entire space feel more intentional.

Timber Tip
Test your colour on more than just one wall. Look at a large sample in the morning, afternoon and evening to see how natural and artificial light affect the colour before committing to the entire room.
Repair Every Imperfection Before You Paint
Colour-drenching leaves very little room for imperfections. When walls, trim and ceilings are all part of the same visual field, even a small dent or old nail hole can interrupt the seamless effect.
Before reaching for the roller, start with prep. Walk around the room and look for everyday wear and tear. Check walls around furniture, doorways and high-traffic areas for dents, dings, cracks and previous repair marks. For small repairs, the CGC Patch & Repair Kit provides a convenient solution. With a compound and a sanding pad included, it is well-suited to quickly filling minor imperfections and smoothing the surface before painting.
Take the time to inspect the walls from different angles as well. Imperfections that are difficult to see straight on can become much more apparent once light hits a freshly painted surface.

Timber Tip
Shine a work light or flashlight across the wall at a low angle. The light will highlight dents, ridges and uneven areas that may otherwise be easy to miss before painting.
Keep Weekend Patching Under Control
A living room refresh does not always require a major renovation. If the goal is simply to repair everyday wear and introduce a new colour, smaller quantities of patching compound can make the project easier to manage.
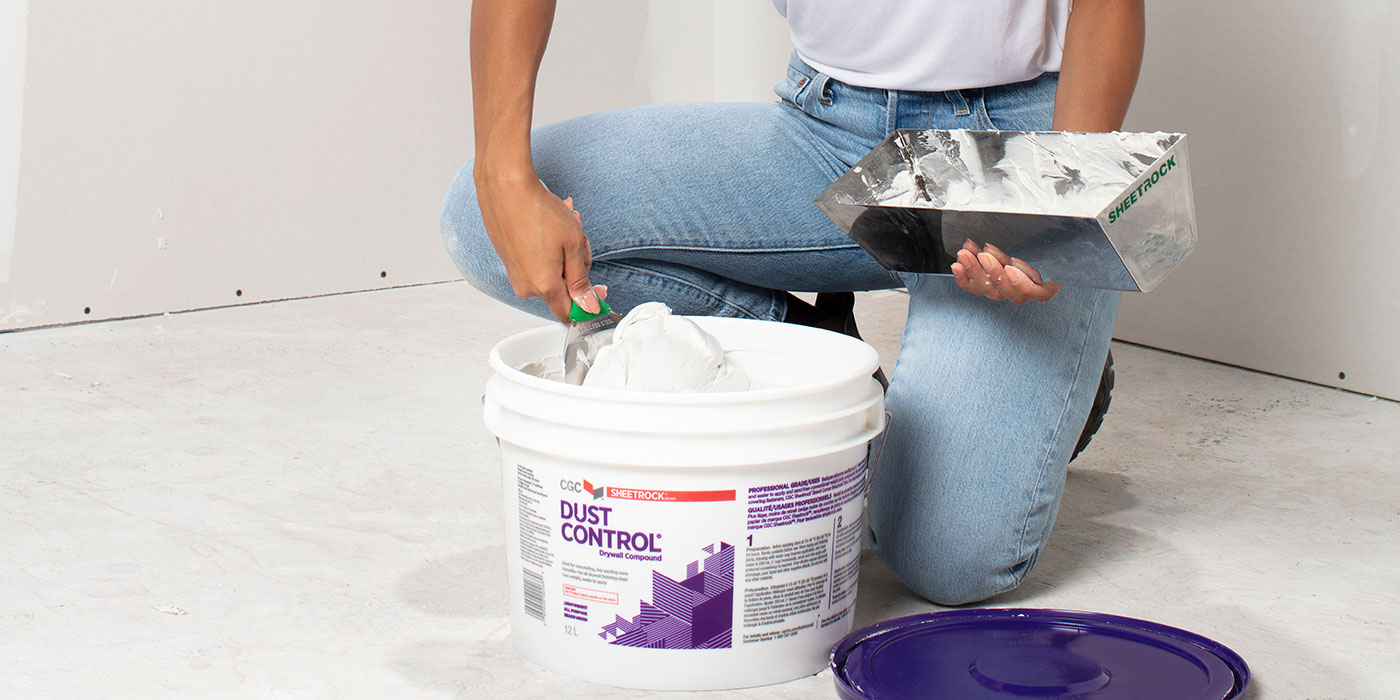
CGC Dust Control is available in convenient smaller formats, including 2L and 4.5L pails, making it practical for quick-turnaround projects where you only need enough compound to tackle a handful of repairs. Its dust-control formulation can also help make the sanding stage more manageable, particularly when working in an occupied living room. The less dust that spreads throughout the space, the easier it is to keep furniture and surrounding areas protected during a weekend project.
After applying the compound, allow it to dry completely before sanding the repaired areas smooth. Run your hand lightly across each patch to check for ridges or edges that could show through the final finish.
Timber Tip
Do not rush the sanding stage. A patch that feels perfectly smooth to the eye can still have a raised edge that becomes visible after painting. Check each repair by touch before moving on to priming.
Seal Your Repairs Before The Final Colour
Once every patch has been sanded smooth, the surface needs to be properly prepared for paint. Freshly repaired areas can absorb paint differently from the surrounding wall, creating visible variations in sheen or colour.
Apply PPG SealGrip® Universal Primer over repaired areas to create a consistent surface before applying the finish coat. This step helps seal the patches and provides a uniform foundation for the colour that follows.
For a truly seamless colour-drenched effect, preparation should extend beyond the walls. Inspect the trim and ceiling for old paint buildup, scuffs or uneven areas and address these before applying the new colour. The smoother and more consistent the underlying surfaces, the more refined the final monochromatic effect will look.
Timber Tip
Feather the edges of repaired areas during sanding rather than leaving a defined boundary around the patch. The transition should be smooth enough that you cannot feel where the repair begins and ends.
Paint The Room As One Cohesive Space
With the surfaces repaired, sanded and primed, it is time to bring the colour-drenching effect together. You’ll need to start with what colour for your room, and decide on whether you want a trendy or timeless colour. PPG Manor Hall® is a premium paint and primer in one that provides a rich, durable finish, making it well-suited to a living room where walls, trim and ceiling need to work together as one cohesive palette.
Start with the ceiling before moving to the walls and finishing with the trim. Work systematically and maintain a wet edge as you move across each surface to help create an even appearance.
If you are using the same colour throughout the room, pay particular attention to where different surfaces meet. Clean lines around corners, baseboards, door frames and ceiling transitions are what make the monochromatic approach feel intentional rather than unfinished.

Timber Tip
Keep a small amount of your finished paint labelled and stored for future touch-ups. Even durable finishes can eventually show wear, and having the exact colour on hand makes repairs much easier.
Let The Colour Do The Work
Once the painting is complete, resist the temptation to fill every surface with accessories. One of the strengths of colour-drenching is its ability to create visual impact through simplicity.
Pair an earthy green with natural wood, woven textures and plenty of greenery for a biophilic-inspired living room. Warm neutrals can create a softer backdrop for colourful artwork, patterned textiles or statement furniture.
The goal is not necessarily to create a room with contrast. Instead, the continuous wall, trim and ceiling colour provides a strong foundation that allows furniture, artwork and natural materials to stand out without making the room feel visually fragmented.

Timber Tip
Use your room’s existing architecture to guide your styling. Position furniture to highlight features such as fireplaces, built-ins, windows or alcoves, and use artwork or greenery to draw attention to these natural focal points.
Colour-drenching may look effortless, but the secret is in the preparation. Smooth repairs, proper priming and clean transitions create the flawless foundation that this monochromatic palette trend needs to shine.
Whether you’re tackling a weekend refresh or a full transformation, your local TIMBER MART team can help you find the patching compounds, primers and premium paints to bring your vision to life.